Table of contents
Introduction
Drying fruit in an oven (sometimes called oven dehydrating fruit) is one of the easiest ways to preserve seasonal produce. If you want to learn how to dry fruit in the oven or make your own oven-dried fruit, this guide covers everything step by step.
You can make:
- Healthy snacks
- Homemade trail mixes
- Natural sweeteners for baking
If you’re ready to dry fruit in the oven, this method also lets you master how to dehydrate fruit in the oven and make tasty, preservative-free oven-dried fruit.
Mastering how to dehydrate and dry fruit in the oven opens up endless possibilities for homemade dried fruit snacks and ingredient preservation, helping you start your own simple fruit dehydration process at home.
Why Use an Oven for Drying Fruit?
- No dehydrator needed – use what you already have.
- Preservative-free – control the process and ingredients.
- Flavor enhancement – natural sugars concentrate for a richer taste.
- Extended shelf life – perfect for long-term storage.

What You’ll Learn in This Guide
- How to dehydrate fruit in the oven effectively
- Best fruits for oven drying
- Ideal temperature & drying times
- Step-by-step method for perfect results
- Storage tips to keep fruit fresh for months
By the end of this guide, you’ll have the confidence to dry a variety of fruits at home with ease. Let’s dive in!
Why Dry Fruit in the Oven?
When you dry fruit in the oven, you can preserve seasonal produce for months while maintaining flavour and nutrients. This method is a straightforward and effective way to preserve fruit without requiring special equipment. Properly dried fruit can last 4–12 months when stored correctly, making it a great way to reduce food waste.
Whether you’re making homemade snacks, extending fruit shelf life, or cutting down on food waste, oven drying is a practical and accessible method for preserving fruit naturally, extending the life of seasonal produce without artificial preservatives or additives.
Benefits of Oven-Dried Fruit
- Easy and accessible – No need for a dehydrator; most kitchens already have an oven.
- Preservative-free – No artificial additives, just natural fruit.
- Enhances flavor – Drying concentrates the natural sugars, making fruit taste even sweeter.
- Saves money – Store-bought dried fruit can cost up to five times more per gram than homemade dried fruit, making DIY drying a budget-friendly alternative.
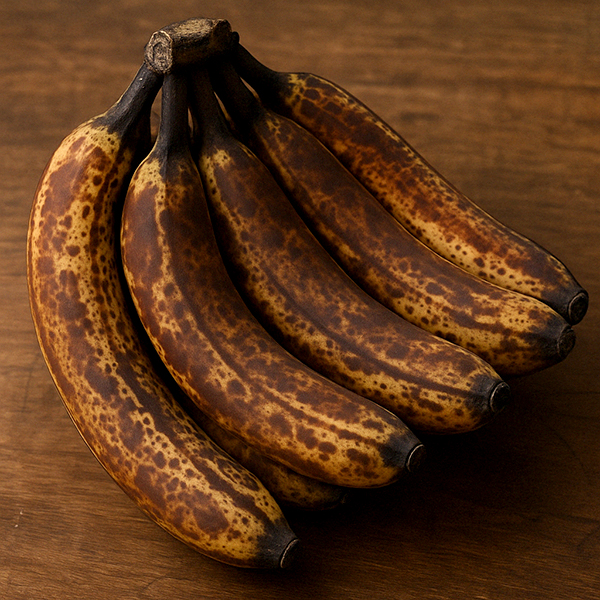
- Versatile – Works with a variety of fruits, from apples and oranges to strawberries and bananas.
Oven Drying vs. Using a Dehydrator
| Feature | Oven Drying | Dehydrator |
| Equipment Needed | Standard oven | Special appliance |
| Drying Time | 5-24 hours | 8-48 hours |
| Energy Usage | Higher | Lower |
| Batch Size | Small to medium | Large |
| Cost | No extra cost | Requires purchase |
While a food dehydrator is specifically designed for drying food, an oven is an excellent alternative for small batches and occasional use. This makes oven drying a great option for beginners looking to explore food preservation without investing in additional equipment. The key difference is energy efficiency and batch size, but for most home users, an oven is more than sufficient.
If you’d like to go a step further and try a completely power-free method, check out our guide on how to build a DIY solar food dehydrator for sustainable food preservation.
Best Fruits to Dry in the Oven
If you’re considering what tends to be easiest to dry fruit in the oven, start with apples, bananas or strawberries — they dehydrate reliably. Some fruits dry better than others. Below are great options to try:
| Fruit | Approximate Drying Time |
| Apples | 6-8 hours |
| Bananas | 6-12 hours |
| Strawberries | 6-10 hours |
| Oranges (slices) | 4-8 hours |
| Grapes (raisins) | 12-24 hours |
Drying times depend on factors like fruit thickness, moisture content, and oven temperature, so adjustments may be necessary. For best results, slice fruit evenly and monitor the process to avoid over-drying.
By selecting the best fruits and understanding how oven drying compares to using a dehydrator, you can effortlessly make delicious dried fruit at home.
Not all fruits dry at the same rate, and some are naturally better suited for oven drying than others. The key factors that affect drying time and quality include water content, fruit size, and slice thickness. Below is a list of the best fruits for oven drying, along with their estimated drying times and preparation tips.
Some fruits, like apples and bananas, retain most of their fiber and nutrients after drying, making them a nutritious snack option.
Grapes & Raisins: Best Varieties for Drying
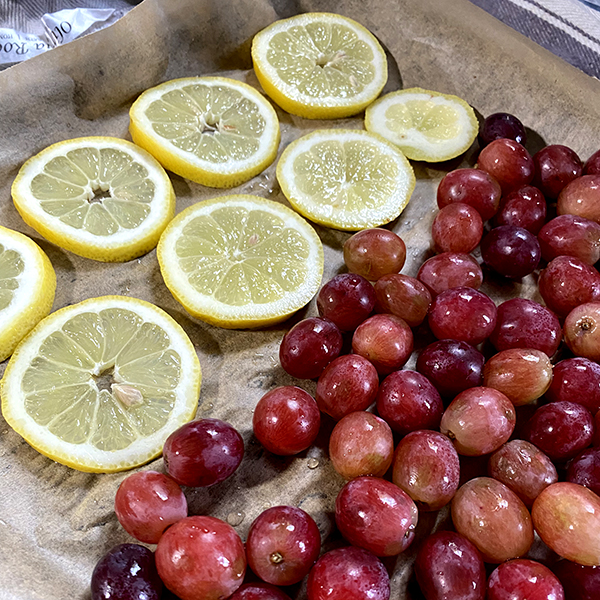
Not every grape dries the same in the oven. Seedless grapes such as Thompson Seedless, Flame, or Sultana dry more evenly and give you a sweet, chewy finish. Always pick grapes that are ripe, plump, and blemish‑free — soft to the touch but never mushy. These are the best starting point for turning grapes into raisins.
Drying Fruit in an Oven: Key Temperatures and Timings
If you’re drying fruit in the oven, the right temperature makes all the difference. Too hot, and you’ll bake or burn the sugars. Too low, and your fruit may ferment or grow mould.
Here’s a handy guide for ideal temperatures and approximate drying times:
Oven Drying Time by Fruit Type
| Fruit | Temp (°C) | Time (Hours) | Notes |
|---|---|---|---|
| Apples | 60–70 | 6–10 | Core and slice evenly |
| Bananas | 50–60 | 8–10 | Dip in lemon water to prevent browning |
| Strawberries | 50–60 | 6–12 | Slice thinly |
| Plums | 60–70 | 10–16 | Pit and halve |
| Grapes | 50–60 | 12–18 | Turn regularly for even drying |
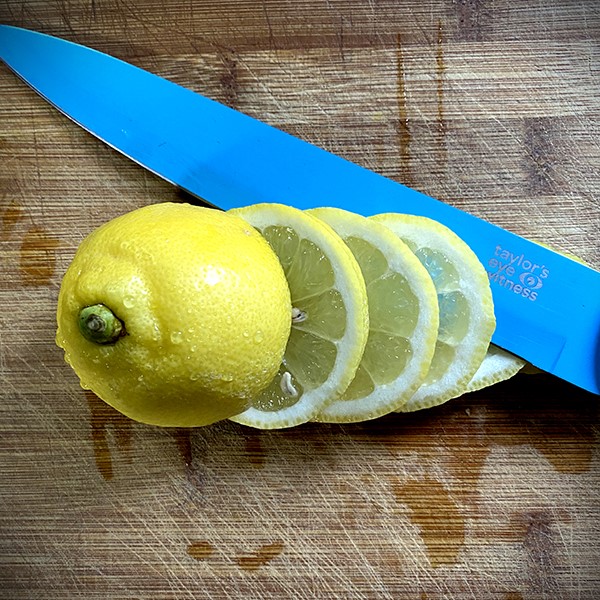
| Lemons | 60 | 4–6 | Use wire rack, not a tray |
💬 Tip: Keep the oven door slightly ajar (use a wooden spoon to prop it open) to allow moisture to escape.
Top Fruits for Oven Drying
| Fruit | Best Preparation Method | Approximate Drying Time |
| Apples | Sliced thin, soak in lemon water | 6-8 hours |
| Bananas | Sliced into ¼-inch rounds | 6-12 hours |
| Strawberries | Halved or sliced | 6-10 hours |
| Oranges | Thin slices | 4-8 hours |
| Grapes (raisins) | Whole or cut in half | 12-24 hours |
| Pineapple | Thin rings or chunks | 8-12 hours |
| Mango | Sliced into strips | 8-14 hours |
| Peaches | Sliced thin or halved | 10-16 hours |
Tips for Choosing the Best Fruits
- Go for ripe, but firm fruit – Overripe fruit takes longer to dry and can become mushy.
- Use uniform slices – Evenly sliced fruit ensures consistent drying.
- Avoid fruits with very high water content – These fruits tend to ferment, develop a rubbery texture, or take excessively long to dry, making them less ideal for oven drying. For example, watermelon contains too much liquid, making it difficult to dry evenly.
Fruits That Are Challenging to Dry in the Oven
Some fruits have extremely high water content, making them less ideal for oven drying:
- Watermelon – Takes too long and becomes too sticky.
- Citrus segments – The pulp retains too much moisture.
- Melons (cantaloupe, honeydew) – Require very long drying times and can become chewy instead of crisp.
Drying fruit in the oven is a fantastic way to make homemade snacks, enhance recipes with natural sweetness, and minimize food waste. While dried fruit has a more concentrated sugar content than fresh fruit, it also retains beneficial fiber and antioxidants, making it a great energy-boosting option. Choosing the right fruits and slicing them evenly helps achieve consistent drying and the best results every time.
How to Dehydrate Fruit in the Oven (Step-by-Step)
You can dry fruit in your oven easily using a low-temperature setting and good airflow. Drying fruit in the oven is a straightforward process, but following the right steps ensures consistent and high-quality results. Below is a comprehensive, step-by-step guide to help you achieve evenly dried fruit with the best texture and flavor.
What You’ll Need
Before getting started, gather these essential tools and ingredients:
- Baking tray or wire rack
- Baking/Parchment paper (to prevent sticking)
- Sharp knife or mandolin slicer (for even slices)
- Lemon juice (prevents browning in certain fruits)
- Large bowl of water (for soaking fruit like apples and bananas)
Preparation Steps
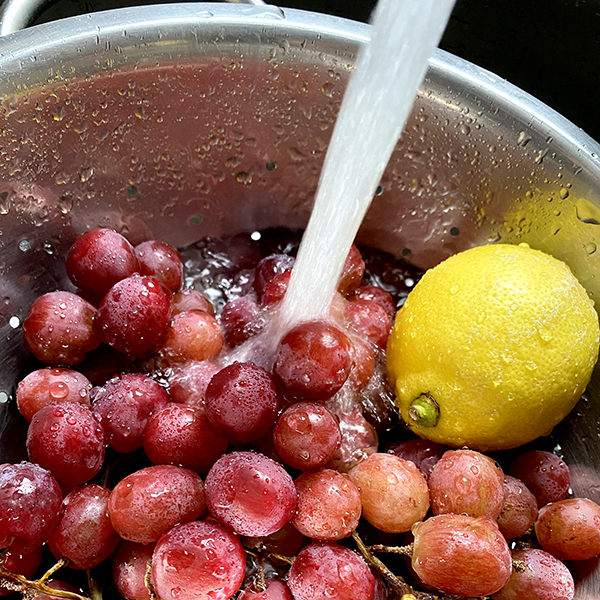
- Wash & Dry the Fruit – Thoroughly rinse all fruit to remove dirt, pesticides, or residues.
- Slice Evenly – Cut fruit into uniform slices (about 5mm thick). Thicker slices take longer to dry.
- Pre-Treat (Optional) – Soak apples and bananas in a mixture of lemon juice and water to prevent browning.
- Arrange on Baking Tray – Lay fruit slices in a single layer on a parchment-lined tray, ensuring proper spacing for even airflow and drying.
To properly dry fruit in the oven, make sure slices are evenly cut and spaced to allow good airflow.
Drying Process
- Preheat Oven – Set to 60 °C (140 °F) or lowest setting; prop the door open slightly to maintain a low-temperature dehydration process that gently removes moisture while preserving nutrients. If your oven does not go this low, prop the door open slightly using a wooden spoon to lower the effective temperature.
- Place Fruit in Oven – Position the baking tray on the lowest rack to allow for slow drying.
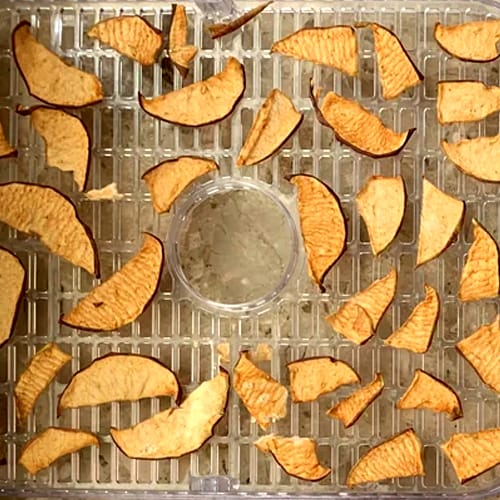
- Monitor & Flip – Flip slices halfway through drying for even dehydration. If using a wire rack, flipping may not be necessary as air circulates evenly around the fruit.
- Check for Doneness – Fruit should be leathery and pliable but not sticky.
- Final Moisture Removal – Once dried, let fruit cool and cover with a towel for 24 hours to absorb any remaining moisture.
Oven‑Drying Grapes into Raisins
Making raisins in the oven is simple and one of the most reliable fruit‑drying methods. Unlike sun‑drying, oven drying gives you full control over the heat and timing, so you can dry grapes into raisins all year round.
Why Use the Oven Method?
- Perfect for small batches of fruit
- Works in any season or UK climate
- Faster than outdoor sun drying
Equipment You’ll Need
- Fresh, seedless grapes
- Baking trays lined with parchment paper
- An oven with a low heat setting (60–90°C / 140–195°F)
- Tongs or a spatula for turning
Step‑by‑Step: How to Dry Grapes in the Oven
- Prepare the grapes — remove stems, discard damaged fruit, rinse, and pat dry.
- Optional lemon dip — soak briefly in a lemon juice and water mix to help preserve colour.
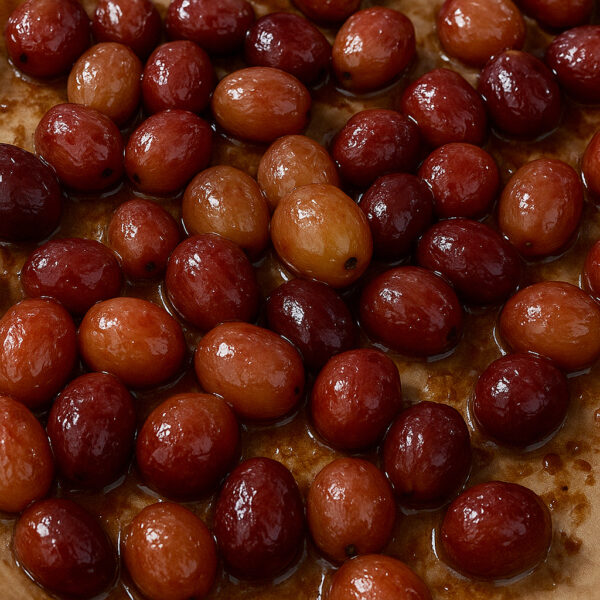
- Arrange on trays — spread grapes in a single layer so they don’t touch.
- Set the oven — preheat to 60–90°C (140–195°F). Place tray in the centre and leave the door slightly open to release moisture.
- Turn grapes regularly — every 1–2 hours for even drying. Depending on size and temperature, the process takes 6–12 hours.
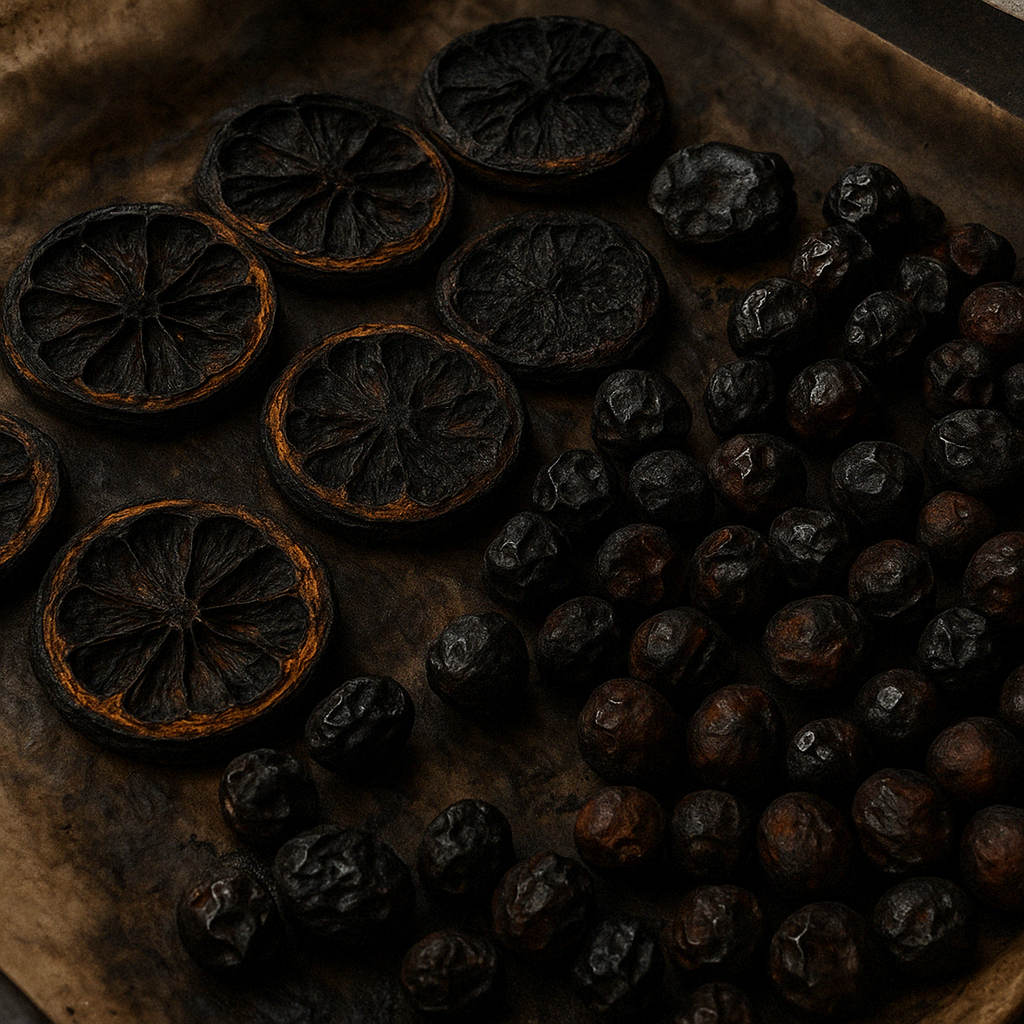
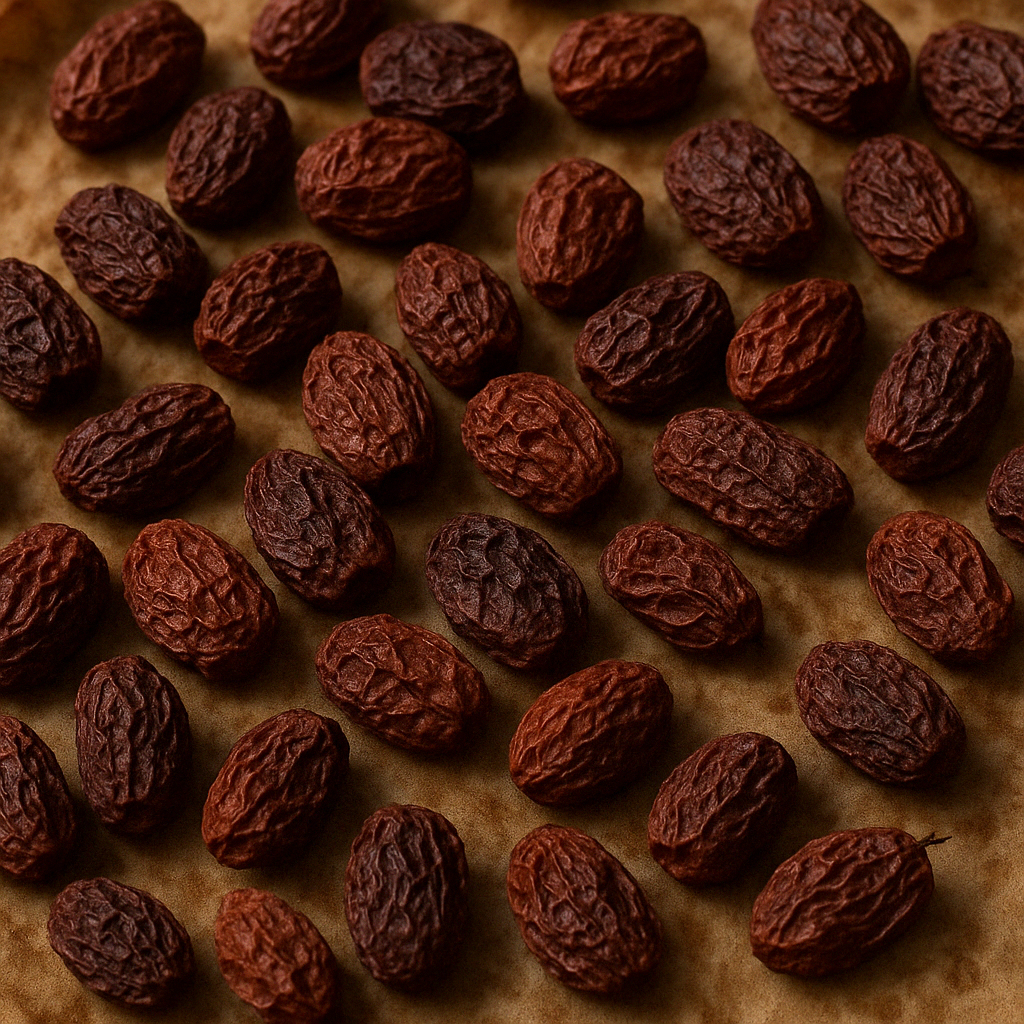
- Check doneness — raisins should look wrinkled, feel leathery, and taste chewy — never sticky or wet
Drying Time Estimates
| Fruit | Approximate Drying Time |
| Apples | 6-8 hours |
| Bananas | 6-12 hours |
| Strawberries | 6-10 hours |
| Oranges (slices) | 4-8 hours |
| Grapes (raisins) | 12-24 hours |
How to Tell When Oven‑Dried Raisins Are Ready
Timing makes all the difference. Underdried raisins spoil quickly, while overdone ones turn hard. Use these checks to get it right:
Signs of Perfect Raisins
- Leathery but not sticky
- Pliable when squeezed
- Wrinkled with a rich, deep colour
- Sweet and chewy flavour
The Quick Squeeze Test
- Let a raisin cool to room temperature.
- Squeeze gently — it should bend without sticking.
- Tear it open — the inside should be moist, not juicy.
Typical oven drying time: 6–12 hours, depending on grape size and heat.
Tips for Oven Drying Fruit at Home
- Use the lowest oven temperature to prevent fruit from cooking instead of drying.
- Keep the oven door slightly open to allow moisture to escape.
- Check regularly – Over-drying can make fruit too brittle. Check often to prevent brittleness and achieve evenly oven-dried slices that retain both colour and flavour.
By following these steps, you’ll create perfectly dried fruit that enhances homemade snacks, recipes, and long-term storage solutions. Dried fruit retains most of its fiber and antioxidants, making it a nutritious and energy-boosting snack option.
Common Drying Mistakes & Troubleshooting
Drying fruit in the oven is straightforward, but common mistakes can result in fruit that is under-dried, burnt, or overly chewy. Here are the most frequent issues and effective solutions to ensure perfectly dried fruit.
1. Fruit Turned Too Dark or Burnt
Possible Causes:
- Oven temperature was too high.
- Fruit slices were too thin.
How to Fix:
- Set the oven to the lowest temperature (around 60°C / 140°F). If your oven lacks precise temperature control, use an oven thermometer to ensure accuracy.
- Slice fruit slightly thicker to prevent excessive browning while still allowing for even drying.
- Check the fruit regularly and remove it as soon as it becomes leathery.
2. Fruit is Sticky or Not Fully Dried
Possible Causes:
- Not enough drying time.
- Fruit has a high moisture content. Examples include grapes, peaches, and pineapples, which take longer to dry and may require additional oven time.
How to Fix:
- Return fruit to the oven for another 30-60 minutes, checking frequently.
- Let the fruit cool and rest for 24 hours to see if any remaining moisture evaporates.
- Ensure fruit is sliced evenly for consistent drying.
3. Fruit is Too Hard or Brittle
Possible Causes:
- Over-dried in the oven.
- Dried at too high a temperature.
How to Fix:
- Lower the oven temperature to 50°C-60°C (120°F-140°F) for a slower, more controlled drying process.
- If fruit is too brittle, try rehydrating it slightly by storing it in an airtight container with a slice of fresh fruit for a few hours.
4. Fruit Has an Unpleasant Taste
Possible Causes:
- Overripe or underripe fruit was used.
- Fruit was not pre-treated (e.g., apples and bananas benefit from lemon water soaking to reduce oxidation).
How to Fix:
- Choose ripe but firm fruit for the best flavor.
- Pre-treat fruits that brown easily to maintain their natural sweetness.
- Store dried fruit properly to prevent stale or rancid flavors.
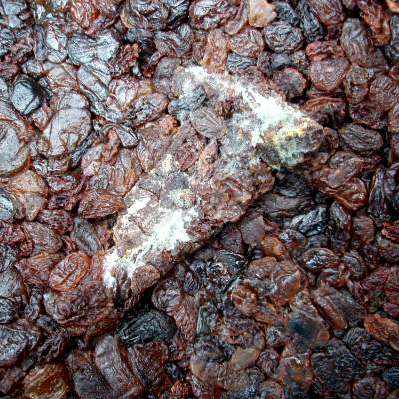
5. Mold Formed on Stored Dried Fruit
Possible Causes:
- Fruit was not fully dried before storage.
- Storage container was not airtight.
How to Fix:
- Ensure fruit is completely dry before storing.
- Use airtight containers and keep in a cool, dry place. For best results, consider vacuum-sealing to further extend shelf life and prevent mold formation.
- If unsure, store dried fruit in the refrigerator or freezer for longer shelf life.
By identifying and correcting these common mistakes, you can achieve consistently dried fruit with optimal texture and flavor every time.
Troubleshooting Oven‑Dried Raisins
If your first batch of homemade raisins isn’t perfect, don’t worry — common problems are easy to fix.
- Mold – too much humidity or poor airflow. Always dry in low humidity and cover trays if leaving overnight.
- Sticky raisins – not fully dried. Return to the oven for 1–2 more hours.
- Rock‑hard raisins – over‑dried or very small grapes. Soften by sealing in a jar with a damp cloth.
- Sour smell – under‑dried or stored incorrectly. Discard and dry thoroughly next time.
- Uneven drying – trays overcrowded. Spread grapes out and rotate trays often.
Storing & Using Your Dried Fruit
Once your fruit is fully dried, storing it properly is crucial to maintaining freshness, preventing spoilage, and extending its shelf life. Follow these storage guidelines to keep your dried fruit in optimal condition for months. Proper storage preserves essential nutrients like fiber and antioxidants, maximizing health benefits.
1. Best Ways to Store Dried Fruit
| Storage Method | Shelf Life | Best For |
| Airtight Container (Room Temp) | 4-12 months | Daily snacking, easy access |
| Refrigerator | Up to 18 months | Humid climates, extended freshness |
| Freezer | 2+ years | Long-term storage, bulk drying |
Storage Tips:
- Use glass jars, vacuum-sealed bags, or airtight plastic containers.
- Store in a cool, dark place away from moisture and sunlight.
- Label containers with the drying date to monitor freshness. Implement a first-in, first-out method to use older batches before newer ones, reducing waste and ensuring consistent quality.
2. How to Check if Dried Fruit is Still Good
- Texture Check: Should be leathery and pliable, not sticky or damp.
- Smell Test: If it smells sour, musty, or fermented, it has gone bad.
- Mold Inspection: Any visible mold or fuzz means it’s time to discard.
3. Creative Ways to Use Dried Fruit
Dried fruit is not just for snacking! Its concentrated natural sugars make it a fantastic, healthier alternative to refined sugar in a variety of recipes. Here are some delicious ways to use it:
- In Baking – Add dried fruit to muffins, cookies, and breads.
- Homemade Trail Mix – Combine with nuts, seeds, and dark chocolate.
- Cereal & Oatmeal Topping – Adds natural sweetness and texture.
- Infused Water & Tea – Drop dried citrus slices into water or herbal teas.
- DIY Fruit Powders – Blend dried fruit into a powder for smoothies and flavoring.
By properly storing your dried fruit and incorporating it into various recipes, you can enjoy its rich flavor and nutritional benefits for months or even years.
Storing Dried Fruit & Raisins
Once your grapes are dried into raisins, proper storage keeps their flavour and texture intact.
Best Containers for Dried Fruit
- Glass jars with airtight lids
- Resealable plastic tubs
- Vacuum‑sealed bags for long‑term storage
Storage Conditions
- Keep them cool (under 20°C / 68°F)
- Store in a dark place away from sunlight
- Make sure fruit is completely dry before sealing
Freezing Raisins
Raisins freeze well and last up to 18 months. Pack in freezer‑safe bags, portion into smaller amounts, and thaw at room temperature when needed.
Shelf Life Guide
- Pantry: 3–6 months
- Fridge: up to 12 months
- Freezer: up to 18 months
How long does it take to dry fruit in the oven?
Drying time varies based on fruit type, slice thickness, moisture content, and sugar levels, which affect how quickly fruit dehydrates. Fruits with higher sugar content, like grapes and mangoes, often take longer to dry. On average, drying can take between 4 to 24 hours. Here are approximate drying times for common fruits:
| Fruit | Approximate Drying Time |
| Apples | 6-8 hours |
| Bananas | 6-12 hours |
| Strawberries | 6-10 hours |
| Oranges (slices) | 4-8 hours |
| Grapes (raisins) | 12-24 hours |
If you’re interested in preserving fruit in different ways, check out our guide on how to make raisins in the sun, oven, or dehydrator for another great method of drying fruit at home.
FAQs: Answering Common Questions
Drying fruit in the oven is a straightforward process, but many people have questions about optimizing techniques, proper storage, and troubleshooting common issues. Here are answers to some of the most frequently asked questions.
The ideal temperature for drying fruit in the oven is 60°C (140°F). Using an oven thermometer can help maintain consistent temperature accuracy, ensuring even drying. If your oven doesn’t go that low, set it to the lowest possible temperature and keep the door slightly open to allow moisture to escape.
Yes! Drying fruit in the oven is a practical and accessible alternative to using a food dehydrator, making it a great option for those who don’t own specialized equipment. While dehydrators are designed for this process, an oven works well for small batches and occasional drying.
If your fruit is still sticky after drying, it may contain too much residual moisture. Try these fixes:
– Return it to the oven for 30-60 minutes at the lowest temperature.
– Let it cool completely, as some moisture evaporates after drying.
– Store dried fruit with a paper towel in an airtight container to absorb any excess moisture.
Yes, but frozen fruit contains more moisture and will take longer to dry. For best results:
Thaw the fruit first and pat it dry with a paper towel.
Spread in a single layer to allow even air circulation.
Expect longer drying times due to the additional moisture.
Yes! A convection oven can speed up the drying process because it circulates air more efficiently. However, ensure fruit slices are spaced evenly to prevent uneven drying. Reduce the drying time by about 25% and check fruit regularly to avoid over-drying.
Between 50°C and 70°C works best, depending on the fruit type. Lower temps preserve colour and nutrients, while higher temps reduce drying time.
Yes. In a fan oven, reduce the temp by 10°C and check more often. In a gas oven, use the lowest setting and rotate trays regularly for even results.
In a standard oven, grapes usually take 6–12 hours to turn into raisins, depending on size and heat settings. Check them regularly so they don’t end up under‑ or over‑dried.
Using a lemon juice dip is optional. It isn’t required for safety, but it does help preserve colour and reduce browning, especially if you’re drying lighter grapes.
You can, but it takes more work. Slice the grapes in half and remove the seeds first. Keep in mind that halved grapes may take a little longer to dry evenly.
If raisins turn out hard, you can soften them by sealing them in a container with a damp paper towel for a few hours. This helps them regain a bit of moisture without spoiling.
Absolutely. Mixing red, green, and black grapes not only looks colourful but also gives you a blend of flavours and textures in the same batch.
The best way to dehydrate fruit in an oven is to use a low temperature (around 60°C/140°F), keep the door slightly open for airflow, and flip slices halfway through.
Absolutely. You can create delicious oven-dehydrated fruit that tastes just as good as dehydrator-made snacks — perfect for small batches.
To dry fruit in the oven evenly, use low heat, allow airflow by leaving the door slightly open, and rotate or flip slices halfway through.
Final Thoughts
Drying fruit in the oven is a practical, cost-effective, and natural method for preserving fruit long-term. Compared to freezing or canning, oven drying requires minimal equipment and maintains the fruit’s natural flavors without added liquids or preservatives. Whether you’re making healthy snacks, preparing ingredients for baking, or reducing food waste, this method allows you to create preservative-free dried fruit at home with ease.
Key Takeaways
- Easy & Accessible: No need for a dehydrator—just use your oven.
- Healthier Alternative: No added sugars or preservatives.
- Customizable: Choose your favorite fruits and experiment with flavors.
- Long Shelf Life: Proper storage keeps dried fruit fresh for months. When stored in an airtight container at room temperature, dried fruit lasts 4-12 months; in the fridge, up to 18 months; and in the freezer, over 2 years.
Try It Yourself!
With these expert tips and techniques, you’re ready to start drying fruit in the oven with confidence! Experiment with different fruits, drying techniques, and flavors. Share your experiences with others and inspire them to try making their own homemade dried fruit! Start with your favorite fruits, adjust drying times as needed, and enjoy the delicious, homemade results.
If you found this guide helpful, share it with others or check out our related articles for more tips on food preservation and homemade recipes.
For more expert guidance on safe and effective fruit drying methods, check out the National Center for Home Food Preservation’s guide on drying fruits.