
More Work at the Backyard Farm
As we move towards early spring, the slightly warmer weather is a clear signal that it’s time to get moving in the garden. With the new growing season on the horizon, I’ve started preparing the vegetable plots and making small but important improvements around the yard.
While clearing an overgrown corner, I uncovered a pile of previously composted soil tucked away at the back of the garden. Rather than letting it sit unused, I decided to put it straight to work by filling the potato box.
However, with the amount of rain we’ve had recently, the garden was starting to resemble a mud bath. To avoid churning everything up, I repurposed some old broken paving flags that were already on site and laid a simple stepping‑stone walkway leading to the potato patch.
It’s not fancy, but it is practical — and it’s already making a huge difference in keeping the garden usable during wet spells.
Continue your backyard farm journey
If you’re catching up on farm life and weekly updates, these guides will help you explore practical gardening, seasonal tasks, and ways to make the most of your outdoor space.
- Spring vegetable planting guide UK – what to sow in March–May – A seasonal resource that pairs well with ongoing farm updates and planning weekly tasks.
- Taking back control of our food – A thoughtful exploration of growing your own food and reducing dependency on industrial systems — perfect for readers tracking farm progress.
- What vegetables are good to grow – An essential guide to choosing productive and rewarding vegetables for your garden or farm.
Letting in the Light
One thing I quickly noticed was that the bamboo at the rear of the garden was blocking a fair amount of light from the potato box area. Because of that, it will be getting chopped back before summer to improve airflow and sunlight.
With the box half‑filled and the walkway in place, it felt like the right moment to move on to another important project.
Helping the Chickens Settle In
The chickens arrived from a previous setup and, understandably, needed time to adjust. Unfortunately, their first few nights coincided with stormy weather, which didn’t help matters.
After a few blustery evenings and some shifting around inside the coop, things gradually began to settle. To give them more space and help them relax, I brought out the lawn mower and strimmer and cleared the surrounding area.
I also removed the front panel I’d added to the nesting boxes. It quickly became clear they didn’t understand or appreciate it. The poor things were a bit… institutionalised.
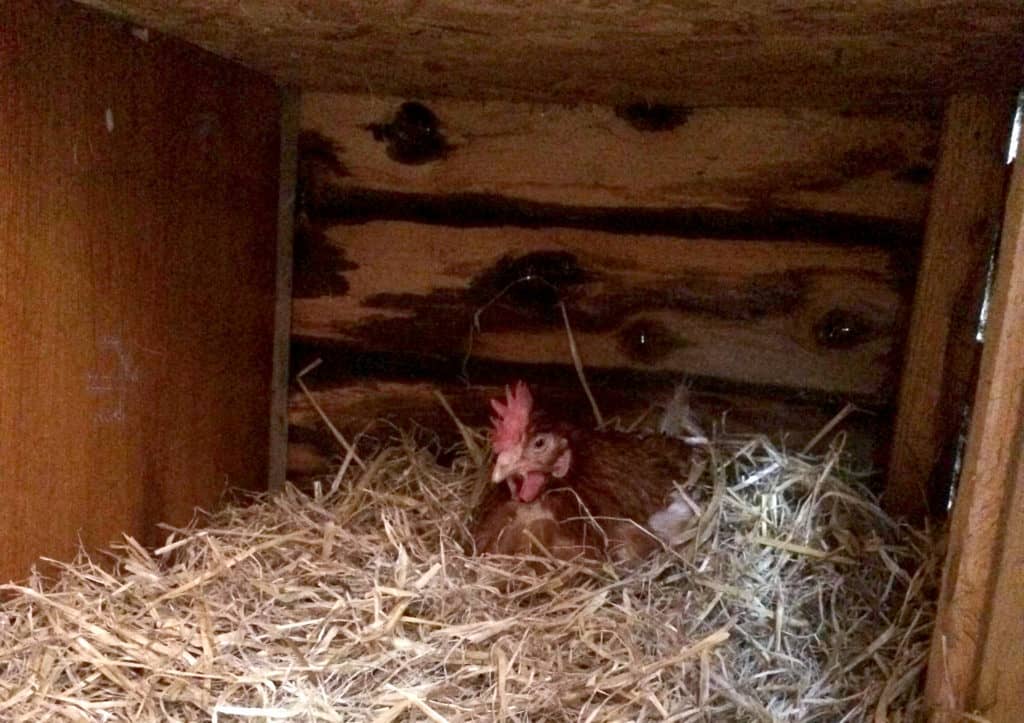
Sorting the Nest Boxes
Even after a full day and night, the nest boxes still hadn’t quite clicked for them. So, while cleaning the coop floor, I gently picked the chickens up and placed them directly into the nesting boxes.
They weren’t thrilled about being handled at first. However, once they realised how cosy the boxes were, they quickly settled.
After cleaning and leaving them alone for an hour or so, I returned to find that Giblets had claimed the nesting box, seemingly booting Apollo out. That surprised me, as I’d assumed Apollo was the dominant one.
By roosting time, the situation had flipped again, with Apollo firmly installed and Giblets pushed aside. Chicken politics are… complicated.
Still, they were clearly catching up on much‑needed rest, and that’s the main thing. With a bit of luck, fresh eggs won’t be far off — boiled eggs and soldiers are very much on my mind.
Do Chickens Like Worms?
Short answer: yes, very much.
While digging around the garden, I unearthed some particularly fat, juicy worms — absolute gold from a chicken’s point of view. Whether they’d had access to these in their previous life, I’m not sure, but they wasted no time in scoffing them down.
A bit later, they were treated to another worm each as I continued digging. As a result, morale was high.
What Do Chickens Eat?
Their regular feed is a complete chicken mix, supplemented with extra corn and oyster shell. In particular, the shell provides calcium and other minerals needed for strong eggshells.
Predictably, they go straight for the corn first, then work through the grain and shell. For water, I repurposed a sturdy bowl originally used for dog walks. After a thorough clean and sterilisation, it’s been working well — aside from the occasional enthusiastic knock‑over.
Early Nesting Behaviour
After the worm feast, I noticed the first real signs of nesting behaviour. Combined with calmer weather and a more settled coop, it feels like things are heading in the right direction.
I may or may not be digging for extra worms to gently encourage an egg or two.
Building the Chicken Run
So far, the chickens haven’t had the confidence to step out of the coop on their own. Because of this, I decided to build a simple outdoor chicken run — a safe, semi‑open space where they can get fresh air without feeling exposed.
In effect, this run should act as a halfway house between the coop and free‑ranging the garden.
Re‑Using What’s Available
I kept the design deliberately simple and re‑used old fence panels wherever possible. Thankfully, a neighbour had given me several panels a while back, which came in very handy.
Alongside those, I picked up:
- Eight 1.8m timber battens
- Chicken wire
Altogether, the total cost came to around £41, which I was more than happy with.
I’m no joiner or carpenter. That said, the result is sturdy, functional, and fit for purpose. Slightly rustic? Absolutely — but that’s part of the charm.
Run Design & Practical Choices
The run measures 1.8m long by 0.8m wide. Importantly, the end closest to the shed is left unfixed so it can be pulled out easily for cleaning.
A small door will connect the coop directly to the run, likely using a simple sliding panel. This will allow it to be opened, closed, and locked securely from inside the shed.
The roof serves two clear purposes:
- Keeping the chickens dry
- Helping them feel protected from above
That sense of cover is especially important when rehabilitating birds that aren’t used to open spaces.
Did You Know?
Despite their slightly dumpy appearance, chickens are surprisingly quick.
A chicken can run at up to 9 miles per hour — basically the Usain Bolt of the poultry world.