Introduction
Garlic is one of the easiest and most satisfying crops you can grow in the UK. Whether you’ve got a big veg patch, a small raised bed, or just a few pots on the patio, garlic shows up strong — delivering:
- Punchy, homegrown flavour
- Brilliant storage potential
- That unbeatable feeling of pulling your own bulbs from the soil
In this guide, we’ll break down exactly how to grow garlic — whether you’re planting in open ground or growing garlic in pots. We’ll also touch on when to plant garlic in the UK to get the best results.
You’ll Learn:
- When to get your garlic in the ground
- Which varieties suit your setup best
- How to keep your crop healthy right through to harvest
It’s low effort, high reward — and by the end, you’ll be ready to give it a go yourself, even if you’re just starting out with a few leftover cloves.
When to Plant Garlic in the UK
Getting your timing right makes a big difference when it comes to growing garlic. In the UK, the best time to plant is usually autumn, between late October and early December. Planting in this window gives your cloves a proper head start — their roots get established before winter kicks in.
You can plant in early spring too (around February to March). That said, autumn planting tends to give you bigger bulbs and stronger plants that shrug off pests and disease more easily.
Autumn vs Spring Planting
- Autumn planting (our go-to): Bigger bulbs, earlier harvest
- Spring planting: Works fine for softneck types, but yields might be smaller
Regional Considerations
- In southern England, you can get away with planting into December
- Up north or in colder spots, aim for earlier autumn to beat the frost
If your soil’s a bit heavy or gets soggy, try starting cloves off in pots or modules undercover. Then, once conditions improve in early spring, move them outside. It’s a handy way to stay ahead while dodging rot.
Key tip: Garlic needs a bit of cold to split into proper bulbs — this natural process is called vernalisation — so don’t leave it too late!
So if you’re wondering when to plant garlic in the UK, autumn is your best bet for a stronger, earlier crop.
Choosing the Right Garlic Varieties
Not all garlic is created equal — especially when you’re growing garlic in the UK. When choosing garlic varieties in the UK, it’s helpful to understand the difference between hardneck and softneck types. Each has its perks, and picking the right one for your setup can really boost your harvest.
Hardneck vs Softneck Garlic
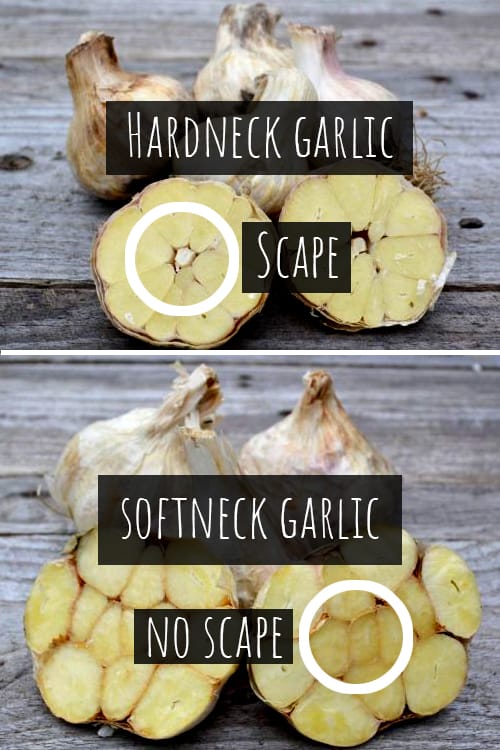
Hardneck garlic:
- Sends up flower stalks (scapes)
- Handles cold snaps better
- Packs a stronger punch in flavour
- Doesn’t keep quite as long
Softneck garlic:
- No flower stalks
- Stores for months
- Usually gives a bigger yield
- Great for braiding and kitchen storage
For most UK growers, softneck varieties are the easiest option — especially if you’re in the milder south. That said, hardneck types can really shine in cooler northern spots or if you’re after bold flavour and tasty garlic scapes.
Recommended Garlic Varieties in the UK
- Solent Wight (Softneck): Reliable and beginner-friendly, with great storage and flavour
- Germidour (Softneck): Mild, steady performer — ideal for spring planting
- Lautrec Wight (Softneck): Slightly fancy, with pink skins and gourmet vibes
- Elephant Garlic (Technically a leek): Giant cloves, mellow flavour — perfect for roasting
- Carcassonne Wight (Hardneck): Punchy flavour, great in colder areas
Where to Buy Garlic Bulbs
Always go for certified, disease-free seed garlic from trusted UK suppliers. It might be tempting to use supermarket cloves, but they’re often treated to stop sprouting and could carry nasties.


Pro tip: Try a few garlic varieties in the UK to see what suits your garden — you’ll soon figure out your favourites.
Preparing Your Site or Pots
Garlic is pretty low effort once it’s in the ground, but giving it the right start really pays off. Whether you’re planting straight into soil or using containers, a little prep now means healthier plants and better bulbs down the line.
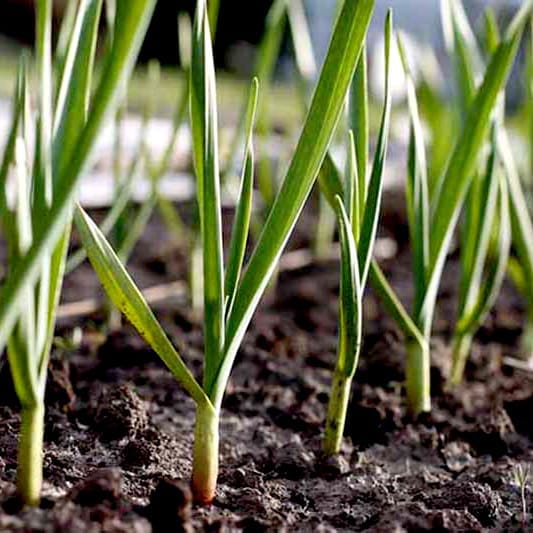
Soil & Sunlight Requirements
- Garlic loves full sun — go for at least 6 hours a day
- It prefers free-draining, light, and fertile soil
- Aim for a pH around 6.5–7.0 (neutral to slightly acidic)
If your soil’s heavy or a bit claggy, work in some compost, leaf mould, or well-rotted manure to open it up. Raised beds also work a treat, especially if you struggle with drainage.
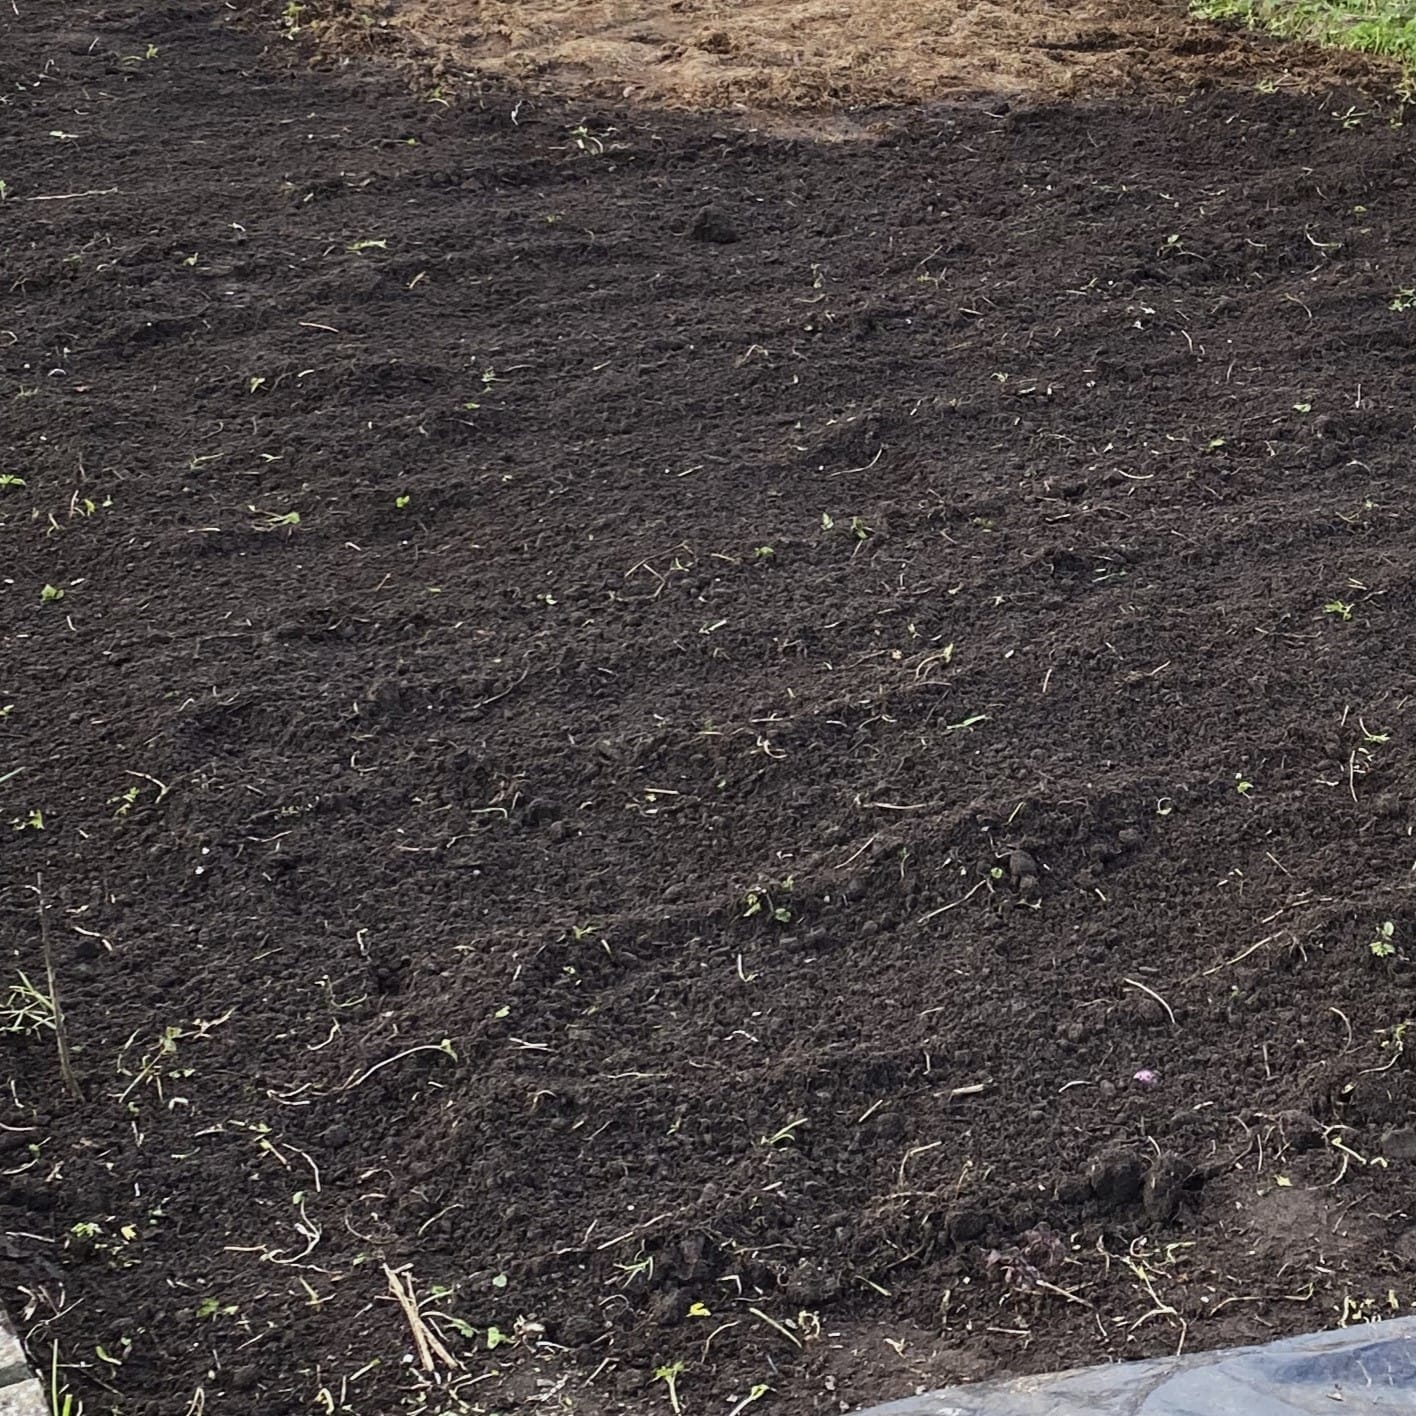
Preparing Garden Beds for Garlic
- Clear out weeds properly before you start
- Loosen the soil with a fork and pick out stones
- Mix in compost or something like fish, blood & bone
- Rake it level and mark your rows
Growing Garlic in Pots
No garden? No problem. Garlic does just fine in containers — perfect for patios or small spaces. Growing garlic in pots is ideal if you’re short on space or dealing with heavy soil.
Go for:
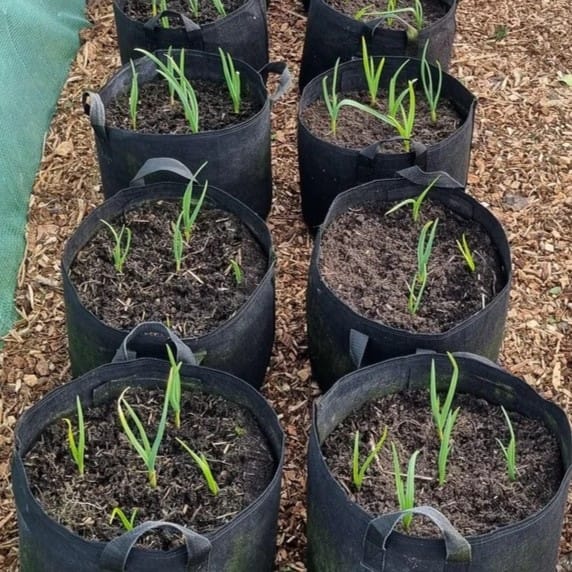
- A pot at least 20cm deep, with plenty of drainage holes
- Enough width to space cloves 10–15cm apart
Use a good-quality compost, or mix up your own:
- 2 parts peat-free compost
- 1 part sharp sand or perlite to help with drainage
Once planted, stick your pot somewhere sunny and sheltered. Garlic can handle cold, but it hates soggy compost — especially in winter.
Tip: If autumn’s a bit too wet or rough, start your cloves off in pots and transplant them later. It gives them a strong start without the risk of rot.
How to Plant Garlic (Step-by-Step)
If you’re wondering how to plant garlic, it’s actually pretty simple once you’ve got the hang of it. With a few tools and a bit of prep, you’ll set yourself up for a cracking harvest. Whether you’re tucking cloves into garden beds or growing in pots, this no-fuss guide will get you going.
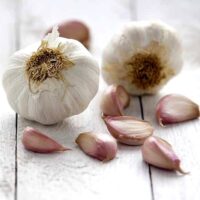
Step 1: Break Up the Bulbs
- Gently pull the bulb apart into individual cloves
- Choose the biggest, healthiest cloves — they’ll give you the best results
- Keep the papery skins on to protect them in the soil

Step 2: Plan Your Layout
- Space cloves 10–15cm apart in each row
- Leave 25–30cm between rows to keep air moving and make weeding easier
You can use our FREE Vegetable planner app to plan your plot and even match companion plants!
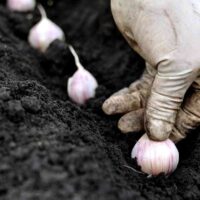
Step 3: Plant at the Right Depth
- Pop each clove into the soil pointy end up
- In pots, go about 2–3cm deep
- In open ground, aim for 4–5cm to help guard against frost and curious birds
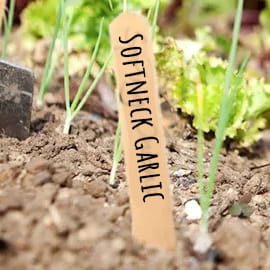
Step 4: Cover and Label
- Gently cover them over with soil or compost
- Press down lightly to firm everything in
- Label your rows or pots with the variety and date — future you will thank you
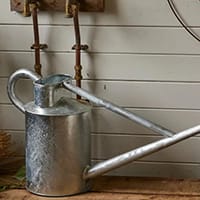
Step 5: Water Lightly
- Give them a light watering to settle the soil
- Skip heavy watering, especially in cold or damp conditions
Extra tip: If you’re planting in autumn, add a layer of mulch — something like straw or leaf mould works well. It helps keep weeds down and protects young garlic as it gets established.
Growing Garlic in Pots (UK Conditions)
No garden? No problem — growing garlic in pots is a brilliant option for small-space gardeners. With a bit of attention and a sunny spot, you can grow a solid crop in even the smallest of spaces.
Choosing the Right Container
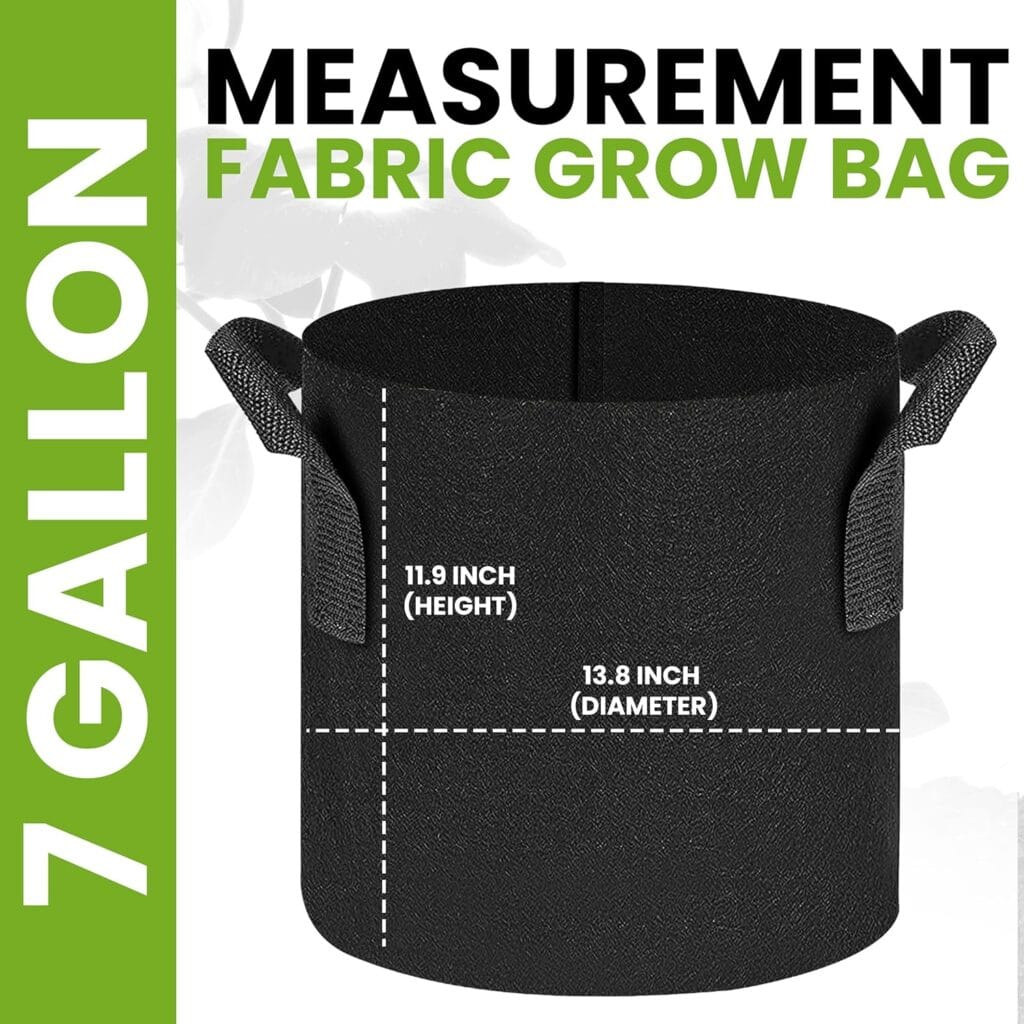
- Pick a pot that’s at least 20cm deep, with enough space to leave 10–15cm between cloves
- Make sure it has plenty of drainage holes — garlic doesn’t like wet feet
Best Soil Mix for Pots
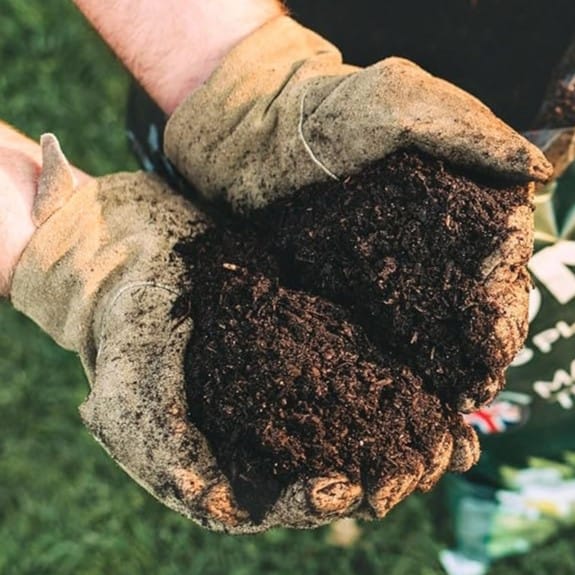
- Go for a peat-free multi-purpose compost mixed with:
- 1 part sharp sand or perlite to keep it free-draining
- A handful of slow-release fertiliser like blood, fish & bone for a nutrition boost
Planting Tips for Containers
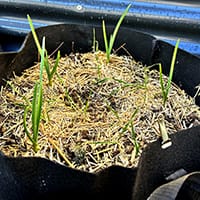
- Follow the same spacing and depth as you would in the ground
- Place the pot in a sunny, sheltered spot — the more light, the better
- Water lightly after planting, then top up only when the compost starts to dry out
Overwintering Garlic in Pots
Garlic is hardy, but containers can freeze up fast. To help your plants through winter:
- Lift pots off the ground using bricks or pot feet
- Push them up against a south-facing wall for a bit of shelter
- If temperatures really drop, cover with fleece or tuck them into a cold frame
Feeding & Watering Schedule
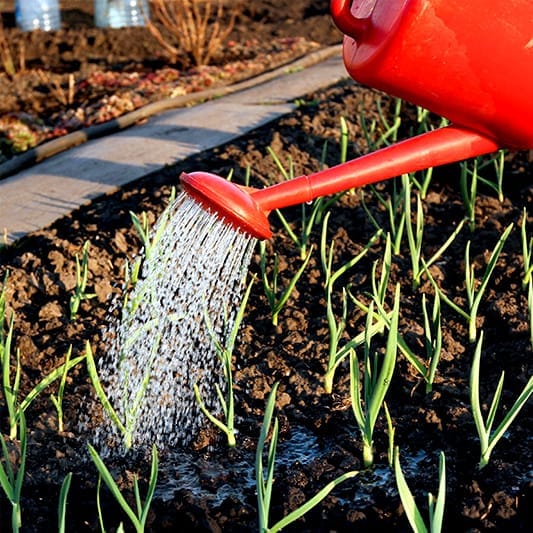
- Hold back on watering through winter — garlic hates sitting in soggy compost
- As spring kicks in, start watering more regularly
- Feed once a month with liquid seaweed or an organic veg-friendly feed
Top Tip: Freshen things up each year — either rotate where you grow garlic or refresh the compost completely. It keeps your soil healthy and your garlic happy. Whether you’re on a balcony, patio, or allotment, growing garlic in pots is a flexible, low-fuss way to enjoy a homegrown harvest.
Garlic Growing Calendar (Month-by-Month Guide)
Garlic takes its time, but it doesn’t ask for much in return. With a little attention at the right moments, you’ll be well on your way to a solid harvest. Here’s a month-by-month garlic growing calendar to keep you on track from planting to harvest — all tailored for UK growers.

October – December (Autumn Planting Season)
- Pop your cloves into beds or containers
- Go for a sunny, free-draining spot to get them settled before the cold sets in
- Mulch with straw, leaf mould, or compost to keep weeds down and soil temperature steady

January – February (Winter Rest)
- Not much to do here — garlic sits tight
- Keep an eye on pots for waterlogging and sort drainage if needed
- Brush off heavy snow or ice to protect emerging shoots
March – April (Spring Growth Kicks In)
- Shoots will start stretching up as the light returns
- Feed monthly with seaweed or an organic veg feed
- Weed little and often — less competition means stronger bulbs
May – June (Bulb Swelling Stage)
- Water regularly, especially in dry spells, but don’t flood the soil
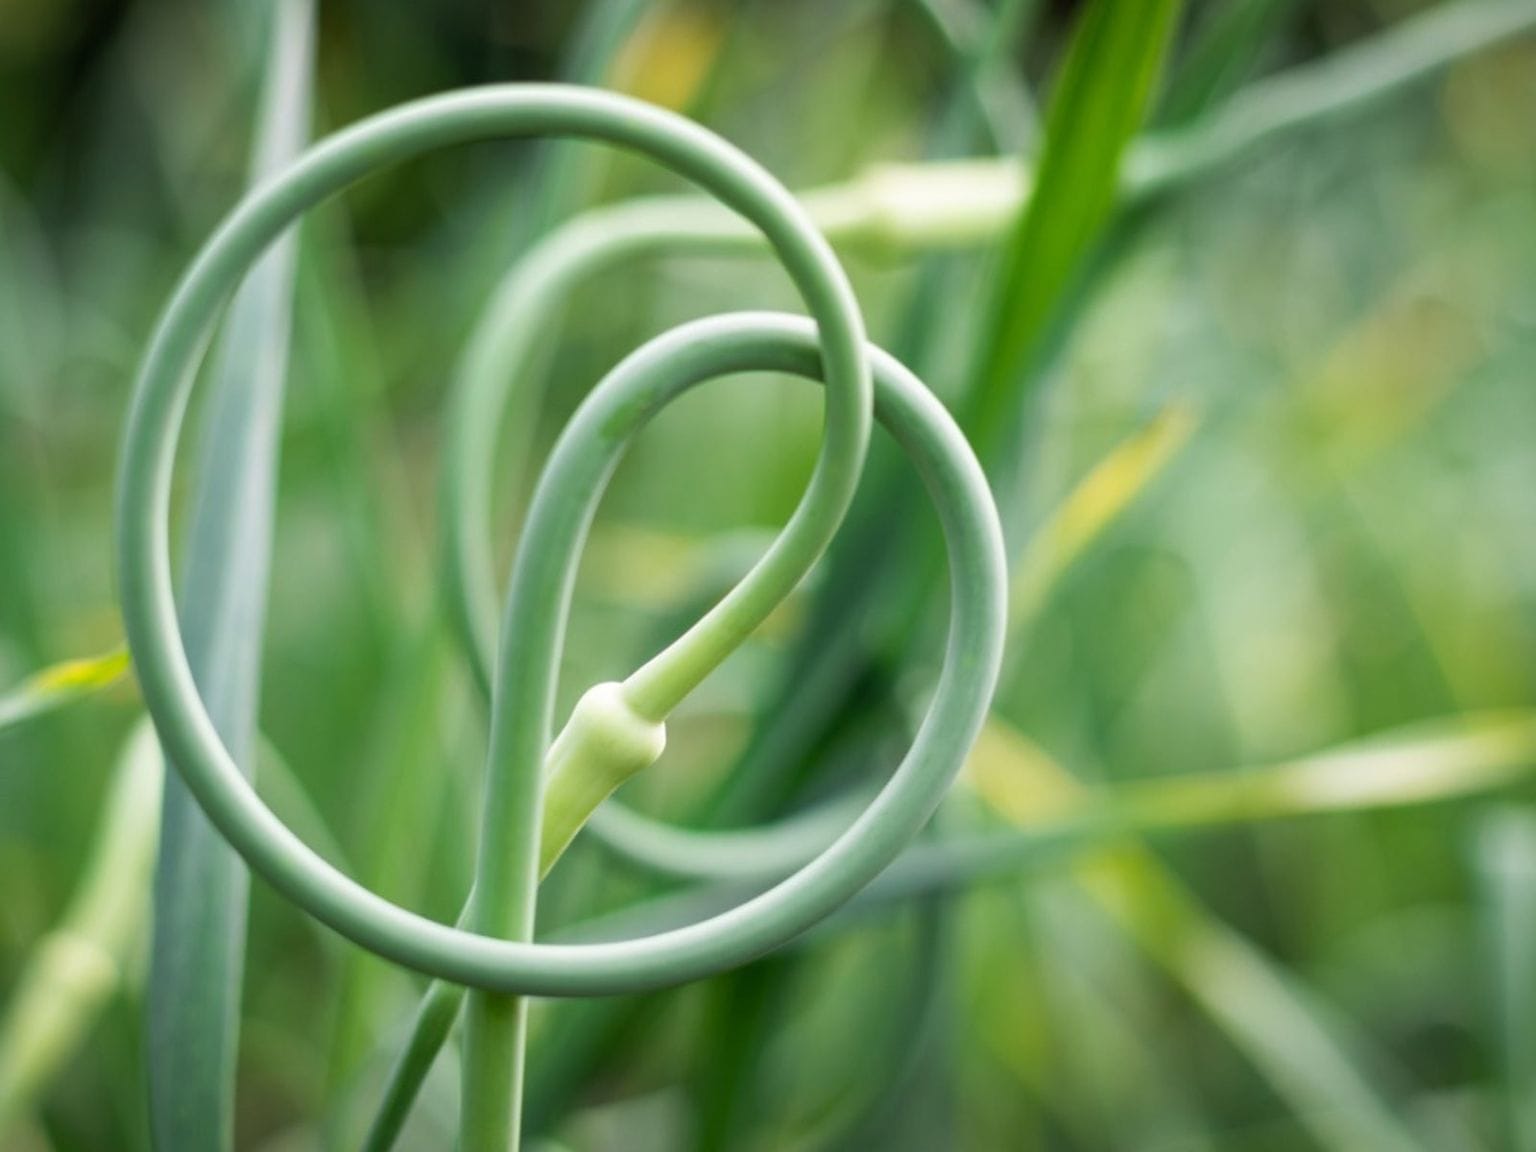
- Snip off any scapes on hardneck types — this helps the bulb bulk up
- Stay on top of weeding and give the soil a gentle hoe if needed
July (Harvest Time)
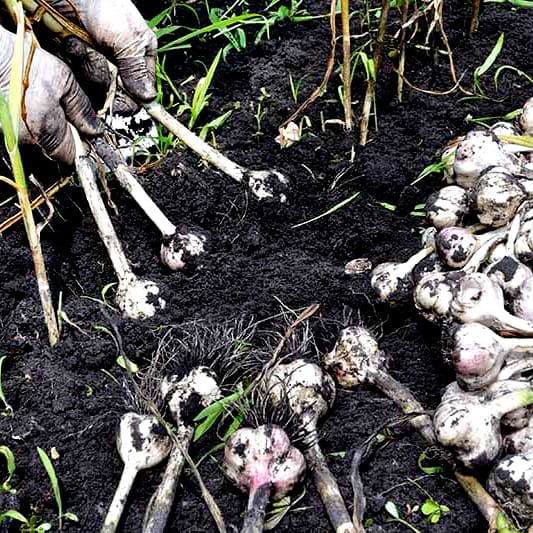
- Lower leaves will yellow and flop — that’s your sign
- Use a fork to loosen the soil and lift gently — don’t yank them out
July – August (Curing & Storage)
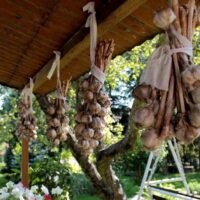
- Lay bulbs somewhere warm, dry, and airy for a couple of weeks
- Once they’re papery and the necks are dry, trim roots and stems
- Store in net bags, hanging braids, or open baskets somewhere cool and dry
September (Get Ready to Go Again)
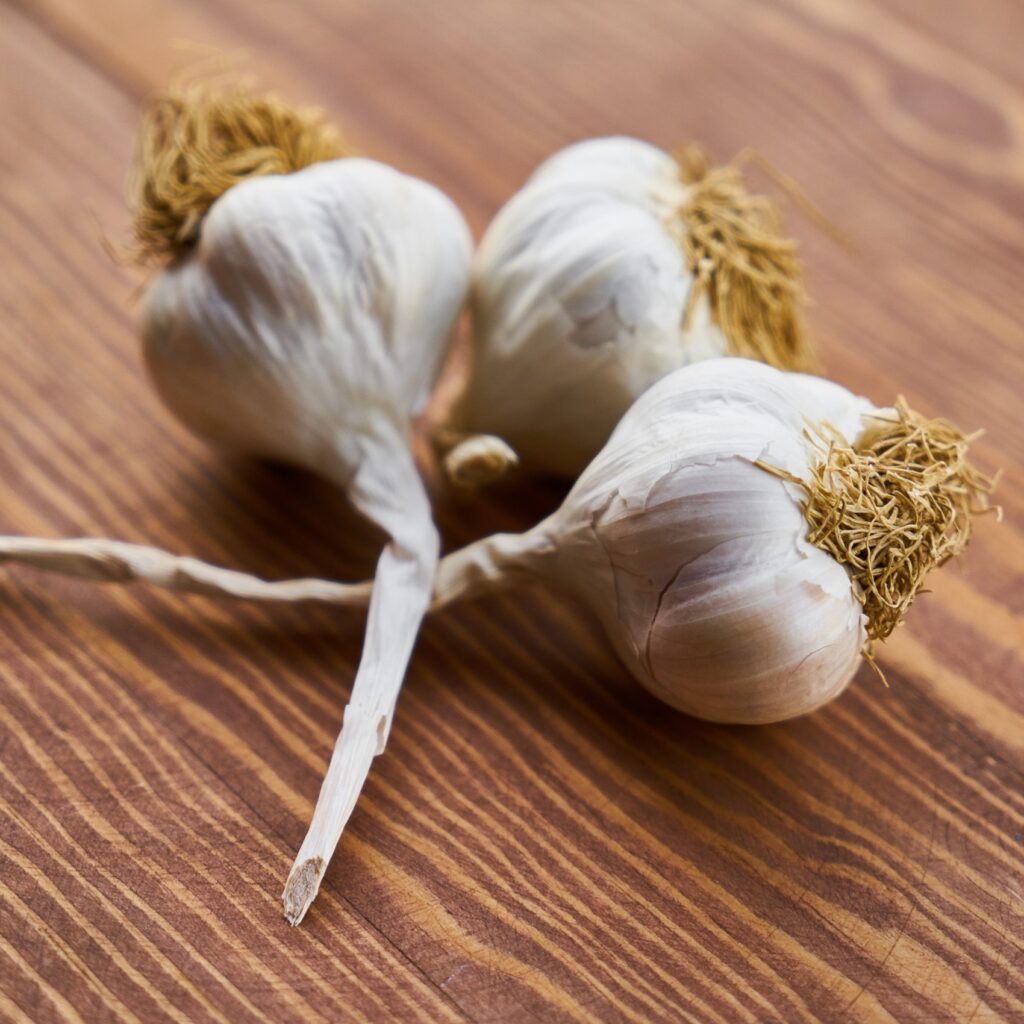
- Pick your best bulbs to save for replanting
- Order new varieties if you’re trying something different
- Refresh your beds or potting mix so you’re good to go next month
Tip: Garlic loves a bit of cold to form proper cloves — that’s why autumn planting sets you up for a bigger, better, and earlier harvest.
Common Garlic Problems and How to Avoid Them
Garlic’s a tough customer, but even it can run into a few hiccups now and then. The good news? Most garlic problems are easy to dodge with a bit of planning and a watchful eye. Here’s what to look out for — and how to keep your crop ticking along nicely.
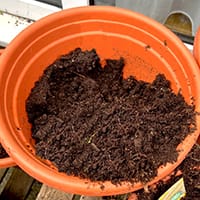
Problem: Birds Pulling Up Cloves
Cause: Birds (especially pigeons) often mistake those tender green shoots for a tasty worm.
How to fix:
- Cover freshly planted rows with fleece or netting until the shoots are established
- Stick in a few twiggy branches or use a cloche to keep curious beaks at bay
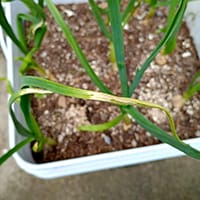
Problem: Yellowing Leaves
Cause: This one’s usually down to overwatering, poor nutrition, or a bout of rust
How to fix:
- Make sure the soil drains well — garlic hates sitting in soggy ground
- Feed monthly in spring with a seaweed-based fertiliser to give it a boost
- If rust shows up, remove affected leaves and dispose of them
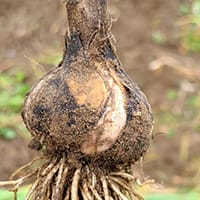
Problem: Rot and Waterlogging
Cause: Heavy soils or shallow containers can hold too much water
How to fix:
- Add sharp sand or perlite to lighten things up
- Plant on ridges or use raised beds if your soil is on the sticky side
- Don’t bury cloves too deep — especially in moisture-prone areas
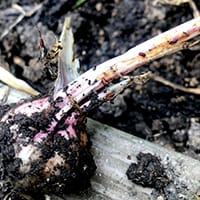
Problem: Garlic Pests (Onion Fly, Nematodes)
Cause: These often turn up when garlic follows other alliums or crop rotation is skipped
How to fix:
- Rotate crops every year to break pest cycles
- Use mesh to keep flies off if you’ve had issues before
- Avoid growing garlic next to onions or leeks to reduce risk
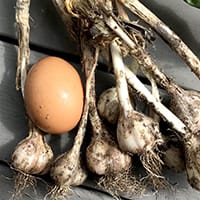
Problem: Small Bulbs at Harvest
Cause: Could be late planting, poor soil, or overcrowding
How to fix:
- Get your cloves in the ground by autumn for a stronger finish
- Work in good compost or an organic feed before planting
- Give each clove enough space to stretch out and do its thing
Tip: Most garlic problems come back to soil health and spacing. Keep things well-drained, feed little and often, and you’ll be ahead of the game.
Harvesting and Curing Garlic
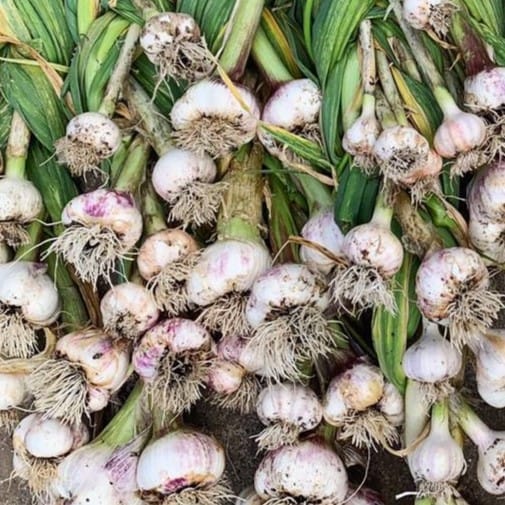
After months of steady growth, it’s finally time to reap the rewards. Harvesting garlic at the right moment — and curing it properly — makes all the difference. You’ll get fatter bulbs, better flavour, and a stash that lasts right through winter.
When to Harvest Garlic
- Aim to harvest around mid-to-late July
- Keep an eye out for the lower 3–4 leaves turning yellow and flopping over, while the top leaves stay green
- Don’t hang about too long — if you wait until all the leaves die back, bulbs can split or start to rot in the ground
How to Harvest Garlic
- Use a garden fork to loosen the soil gently — don’t yank them up by hand
- Lift each bulb carefully and shake off loose soil — but don’t wash them
- Handle gently to avoid bruising or damaging the skin
Curing Garlic for Storage
Curing garlic gives it that classic papery skin and helps lock in its flavour for longer.
- Lay your bulbs out in a warm, dry, airy spot, out of direct sun — a shed or greenhouse bench works well
- Let them cure for 2–3 weeks, until the outer layers are dry and the necks are fully sealed
- Space them out in a single layer or hang in loose bundles so air can flow all around
Storing Garlic
- Once they’re dry, trim the roots and snip the stems down
- Store them in net bags, baskets, or braided bunches — whatever suits your setup
- Keep them in a cool, dry, and airy place — not the fridge, as that can make them sprout early
Tip: Check through your stored garlic bulbs every few weeks. Pull out any that are soft or sprouting — it’ll help the rest keep longer.
Bonus Tips for Bigger Bulbs
Looking to level up your garlic game? If you’re wondering how to grow bigger garlic bulbs, these easy, reliable tips will help you grow chunkier bulbs packed with flavour — and keep them storing well right through the season.
Feed Little and Often
- Garlic’s a hungry plant, so it needs steady feeding to really thrive
- Give it a boost with a liquid seaweed feed or organic veg fertiliser every 3–4 weeks during spring
Water Wisely
- Keep the soil consistently moist through May and June while bulbs are swelling
- At the same time, go easy in autumn and winter — soggy roots are garlic’s worst enemy
Remove Scapes (Hardneck Garlic)
- Snip off any flower stalks (called scapes) as soon as they pop up
- This stops the plant wasting energy and helps the bulb fill out
- Don’t chuck the scapes — they’re delicious and cook up like a mild garlicky veg
Try Companion Planting
Garlic plays well with:
- Carrots
- Beets
- Lettuce
- Strawberries
Avoid growing it next to:
- Beans or peas — they don’t get along too well
Replant Your Best Cloves
- Save your biggest, healthiest bulbs at harvest
- Use their fattest cloves for planting next season
- Over time, this kind of homegrown selection gives you stronger, more productive crops
Pro tip: Keep a little growing notebook. Jot down what varieties did best, what didn’t work, and what you’d try again — it’s a big help when planning your next crop.
Final Thoughts
Whether you’ve got a full veg patch, a couple of raised beds, or just a few pots on the patio, garlic’s one of the easiest — and most rewarding — crops you can grow in the UK. It doesn’t take much space, it’s low maintenance, and it reliably gives you a stash of flavour-packed bulbs that’ll last for months.
If you’ve been wondering how to grow garlic, you’ve now got the full picture — from planting your first clove to pulling your homegrown harvest and storing it right. And if you’re still unsure how to grow garlic, just follow the basics and let nature do the rest.
Stay Connected
Sign up to our newsletter for seasonal reminders, no-fuss garden tips, and sustainable DIY projects that fit right into your backyard routine.
So, what do you think — ready to plant some garlic? Grab yourself some decent seed bulbs, get those pots or beds prepped, and give it a go. Come summer, you’ll be harvesting your own garlic — and wondering why you didn’t try it sooner.

