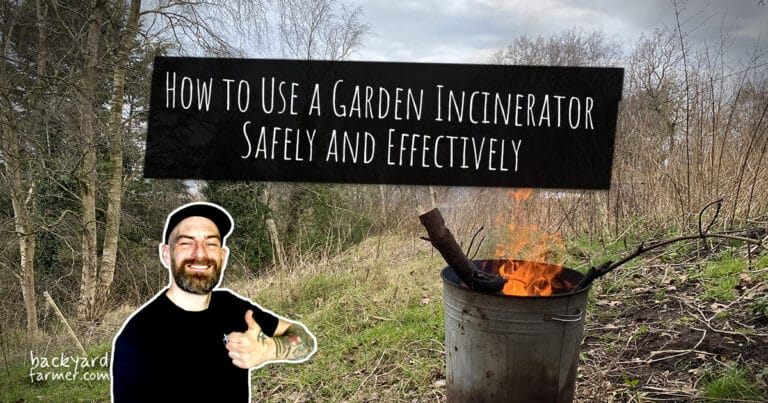
How to Use a Garden Incinerator Safely and Effectively

How to use a garden incinerator

Introduction

As a professional gardener with years of hands-on experience, I’ve come to rely on garden incinerators as an indispensable tool for managing waste efficiently and sustainably. Whether it’s clearing up after a busy season of pruning or disposing of garden debris that’s not suitable for composting, using an incinerator can significantly reduce the clutter and transform waste into something useful, like nutrient-rich ash for your garden.

However, choosing the right garden incinerator and knowing how to use it effectively can make all the difference in maintaining a healthy and tidy garden. In this guide, I’ll walk you through everything you need to know—from selecting the best incinerator for your needs to using it safely and creatively.

If you’re looking to take your garden maintenance to the next level, don’t miss my comprehensive review on The Best Garden Incinerator, where I share top picks based on my professional experience. Whether you’re a seasoned gardener or just starting, this guide will help you find the perfect incinerator to keep your garden thriving.

Assembly: Setting Up Your Garden Incinerator for Safe Use

When you first purchase a garden incinerator, proper assembly is your initial step towards efficient and safe use. While the process might seem straightforward, attention to detail is crucial. Follow the manufacturer’s instructions meticulously to ensure all parts are securely in place. This not only guarantees that your incinerator will function correctly but also minimizes the risk of accidents during use.

Be particularly careful when handling metal parts, as edges can be sharp. Wearing gloves during assembly is advisable to protect your hands from cuts. Once your incinerator is fully assembled, take a moment to double-check that all bolts and screws are tightly fastened. A stable and well-constructed incinerator will perform better and provide a safer burning experience.

Safety & Preparation: Essential Steps for Safe Operation

Before you light your first fire, it’s essential to prioritize safety and proper preparation. Here’s how to ensure a safe and efficient burning process:

Safety Clothing: Protect Yourself from the Heat

Wearing the right clothing is critical when operating a garden incinerator, as it can reach very high temperatures, posing a risk of burns or injuries. Equip yourself with the following:

  • Thick, Fire-Resistant Gloves: Opt for gloves made of fire-resistant materials like Kevlar or leather, as these will protect your hands from heat and embers. Avoid using rubber or plastic gloves, as they can melt or catch fire easily.
  • Long-Sleeved Shirts and Trousers: Choose clothing made from heavy-duty materials like denim or wool. These fabrics offer better protection against heat compared to synthetic materials, which can melt when exposed to high temperatures.
  • Sturdy Leather Boots: Durable leather boots are ideal, offering protection not only from the heat but also from sharp objects on the ground. They provide a stable footing, reducing the risk of accidents.

Preparing the Area and Materials: Setting Up for Success

Proper preparation of the area and materials is key to a smooth and safe incineration process. Follow these steps to get your incinerator ready:

prepare materials

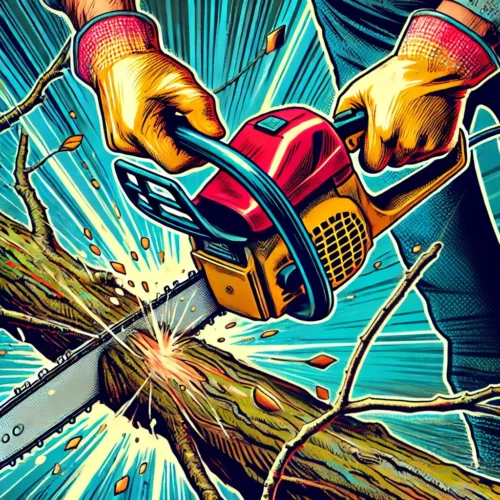
Cut Materials to Size

Before loading materials into the incinerator, cut them down to manageable sizes that fit easily within the incinerator’s capacity. Overloading the incinerator can lead to inefficient burning and increased smoke production.

prepare water source

Prepare Water Sources

Always have a water source nearby, such as a full watering can, a bucket of water, or a garden hose. This is essential for quickly extinguishing the fire in case of an emergency or to control any unexpected flare-ups.

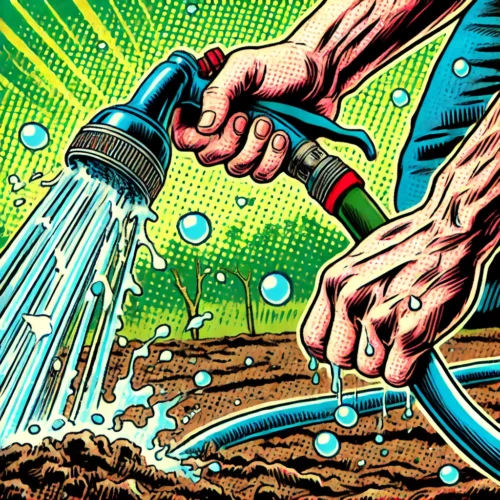
Soak the Surrounding Area

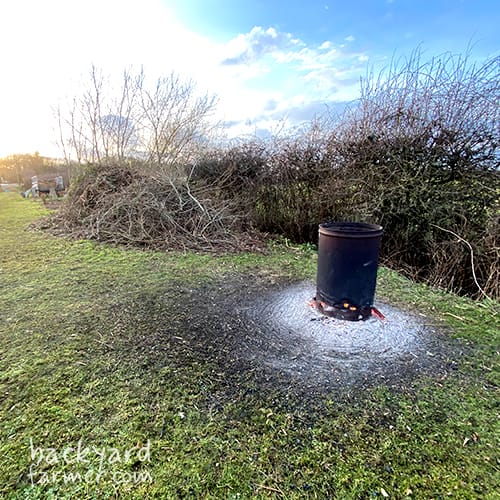
To prevent the fire from spreading, thoroughly soak the ground around the incinerator before starting the fire. This precautionary measure helps to contain the fire within the incinerator and reduces the risk of accidental grass or leaf fires.

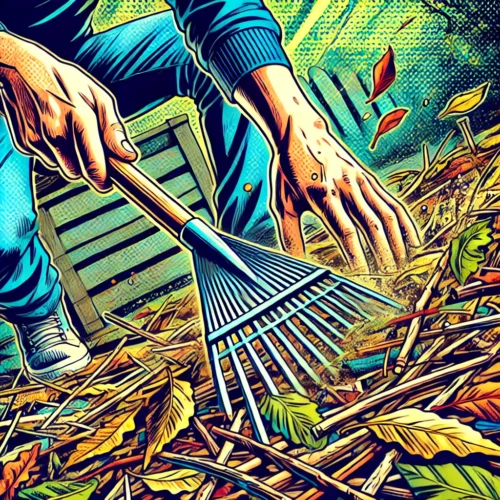
Clear the Area

Ensure that the area around the incinerator is free from any flammable materials such as dry leaves, paper, or wooden debris. Clearing the area minimizes the risk of these materials catching fire from stray embers.

Bin on flat area

Ensure Stability

Place the incinerator on flat, solid ground to avoid tipping. A sturdy base prevents accidents and ensures that the incinerator operates safely throughout the burning process.

Safety Gear and Preparation Checklist

CategoryItems/StepsDetails/Notes
Safety GearThick, Fire-Resistant GlovesChoose gloves made of Kevlar or leather; avoid rubber or plastic materials.
Long-Sleeved Shirts and TrousersPrefer heavy-duty materials like denim or wool to protect against heat.
Sturdy Leather BootsLeather boots provide heat resistance and protect feet from sharp objects.
Area PreparationCut Materials to SizeEnsure all materials fit inside the incinerator without overloading.
Prepare Water SourcesKeep a water can or garden hose nearby for emergencies.
Soak the Surrounding AreaWet the ground around the incinerator to prevent fire spread.
Clear the AreaRemove any flammable materials like dry leaves or debris from the vicinity.
Ensure StabilityPlace the incinerator on flat, solid ground to avoid tipping.

How to Use the Table:

  • Safety Gear: The first section of the table lists essential protective clothing and equipment, along with brief notes on why each item is important and what to avoid.
  • Area Preparation: The second section provides a step-by-step checklist for preparing the area around the incinerator, with additional details to ensure safe operation.

By following these safety and preparation guidelines, you’ll be ready to use your garden incinerator with confidence, knowing that you’ve taken all necessary precautions to protect yourself and your surroundings. Remember, careful preparation is the key to a safe and effective garden incineration process.

When & Where Can You Use a Garden Incinerator?

Using a garden incinerator is not just about setting it up and lighting a fire; understanding when and where you can safely and legally use it is crucial. Laws regarding garden bonfires vary across the UK, so it’s essential to check your local council’s guidelines before you begin. Adhering to these regulations will help you avoid fines and ensure that your incinerator use doesn’t become a nuisance to your neighbors.

Here’s a detailed guide to help you determine the best practices for using your garden incinerator:

Local Regulations: Know the Rules Before You Burn

Before lighting your incinerator, always consult your local council’s website for specific rules and regulations about garden bonfires in your area. Different regions may have unique restrictions or guidelines, and being informed will help you avoid any legal issues. Some councils might offer alternative waste disposal services that could be more convenient and environmentally friendly​.

Best Practices for Garden Incinerator Use

To ensure that your garden incineration is both safe and considerate, follow these key practices:

  1. Choose an Open Area:
    • Position your incinerator in a location that has good ventilation. Make sure the area is free from overhanging branches, fences, or other structures that could catch fire. Ensure the incinerator is placed at least 10 feet away from any buildings, fences, or flammable materials​.
    • Place your incinerator on a non-flammable surface such as concrete or bare soil to prevent accidental fires​.
  2. Be Considerate of Neighbors:
    • Timing is everything when using a garden incinerator. Avoid burning during times when neighbors are likely to have washing on the line or are enjoying their gardens. Early mornings or late evenings, when people are less likely to be outside, are usually better times to burn.
    • Pay attention to the wind direction to prevent smoke from blowing directly towards your neighbors’ properties.
  3. Check the Weather:
    • The weather can significantly impact the safety and effectiveness of your garden incineration. Avoid using your incinerator on windy days, as wind can carry embers to nearby properties, increasing the risk of accidental fires. Additionally, very dry conditions can make surrounding vegetation more flammable, so it’s best to wait for a day when the weather is calm and damp​.
  4. Maintain Proper Airflow:
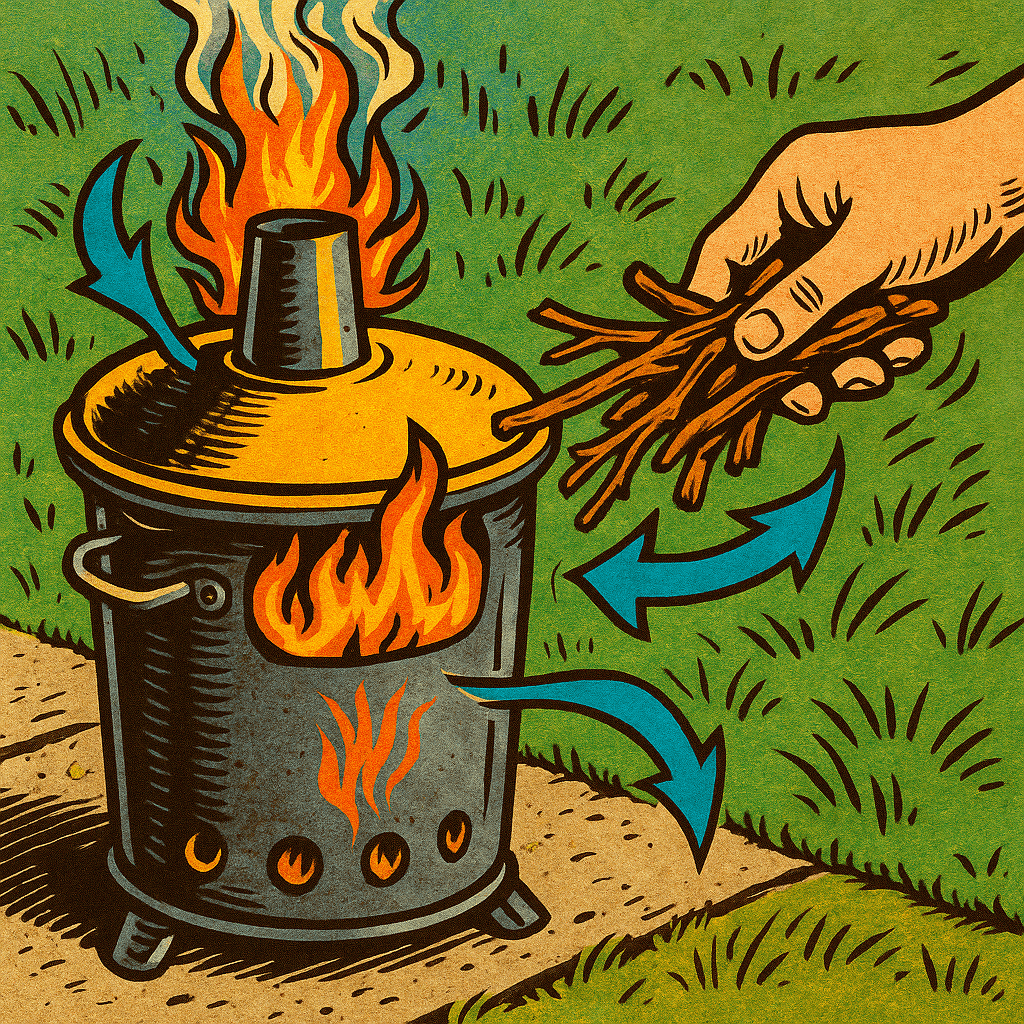
    • Ensure that the incinerator’s air vents are open to allow proper airflow, which is essential for maintaining an efficient burn and reducing smoke production. Using the lid during burning can help maintain high temperatures and prevent sparks and embers from escaping​.
  5. Never Leave Unattended:
    • It’s essential never to leave an active incinerator unattended. Fires can quickly get out of control, and supervising the incinerator at all times is a vital safety measure​.
  6. Alternative Waste Disposal:
    • While using an incinerator is effective, consider alternative methods like composting for certain types of garden waste, which might be more environmentally friendly. Some councils offer garden waste collection services, which could be a convenient option.

Garden Incinerator Use Guidelines

ConsiderationBest PracticesDetails/Notes
Local RegulationsCheck Local Council GuidelinesVisit your council’s website for specific bonfire rules and regulations.
Area SelectionChoose an Open, Ventilated AreaEnsure the incinerator is positioned away from structures, trees, and flammable materials.
Airflow ManagementOpen Air Vents, Use LidEnsure proper airflow for efficient burning and safety. Use the lid to contain sparks.
Neighbor ConsiderationAvoid Burning During Inconvenient TimesPlan your burning sessions when neighbors are less likely to be outside.
Weather ConditionsAvoid Windy or Extremely Dry DaysWind can spread embers; dry conditions increase the risk of surrounding fires.
SupervisionNever Leave UnattendedAlways monitor the incinerator to prevent accidents.

By following these guidelines, you can use your garden incinerator effectively while adhering to legal requirements and maintaining a good relationship with your neighbors. Remember, safety and consideration are key to a successful and hassle-free garden incineration experience.

How to Start a Fire in the Incinerator

Starting a fire in a garden incinerator requires careful preparation and an understanding of the best practices to ensure an efficient, smoke-free burn. Here’s a comprehensive guide to help you get it right.

Step-by-Step Guide to Starting a Fire

  1. Start with Dry Newspaper:
    • Preparation: Begin by twisting pages of dry newspaper lengthways and loosely knotting them. This method creates an aerated base that ignites easily, ensuring a quick start to your fire.
    • Placement: Place the twisted newspaper at the bottom of the incinerator, spreading it out to cover the entire base. This will act as the initial fuel, catching fire quickly and helping to ignite the materials placed above it.
  2. Add Kindling:
    • Material Choice: Use dried grass, thin sticks, or small twigs as your kindling. If you’re having difficulty getting the fire started, consider using firelighters sparingly to help boost the initial flames.
    • Layering: Arrange the kindling in a loose, crisscross or teepee structure over the newspaper. This ensures optimal airflow, which is crucial for feeding the fire and helping it grow​.
  3. Add Larger Branches:
    • Material Selection: Select dry, seasoned branches and twigs for the next layer. Avoid using green or wet wood, as these can produce excessive smoke and smother the fire.
    • Stacking: Stack the larger materials carefully, ensuring they remain below the rim of the incinerator. Overfilling the incinerator can hinder airflow and reduce the fire’s effectiveness​.
  4. Light the Newspaper:
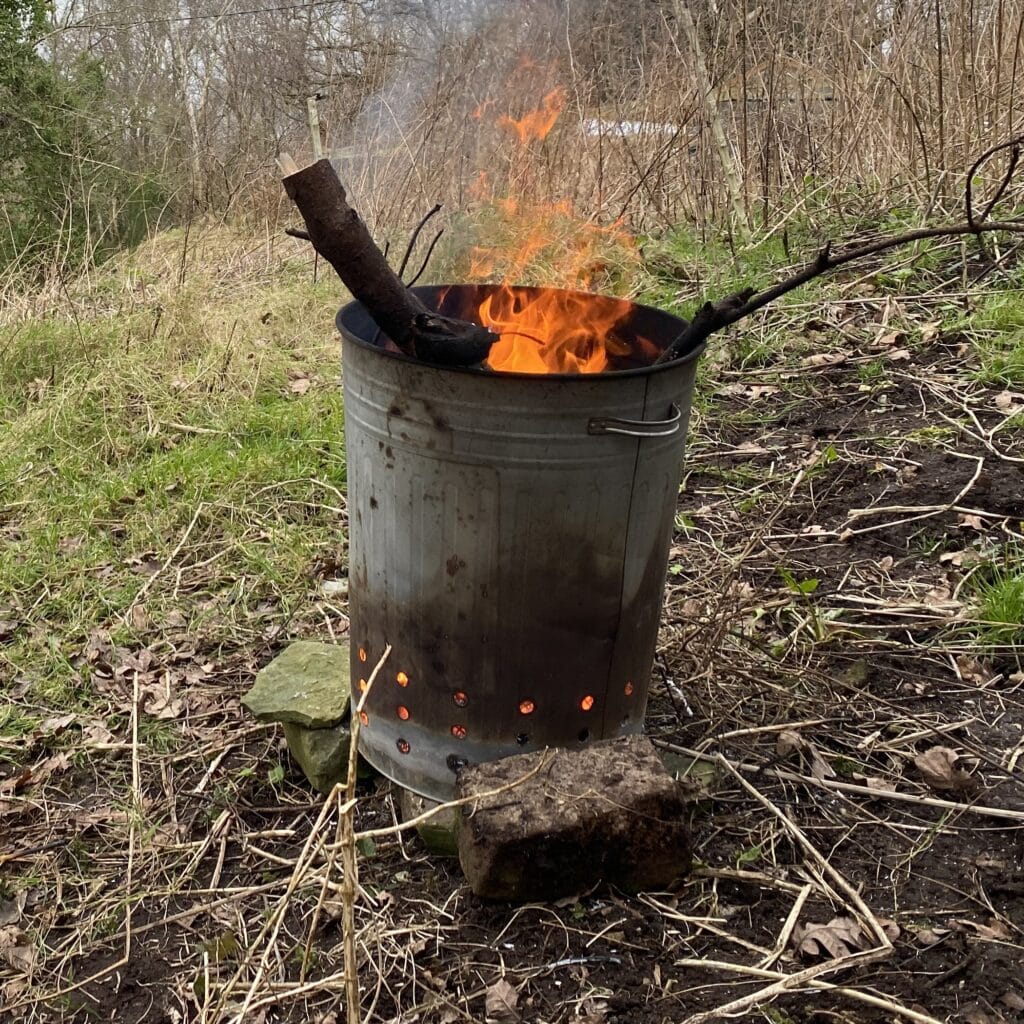
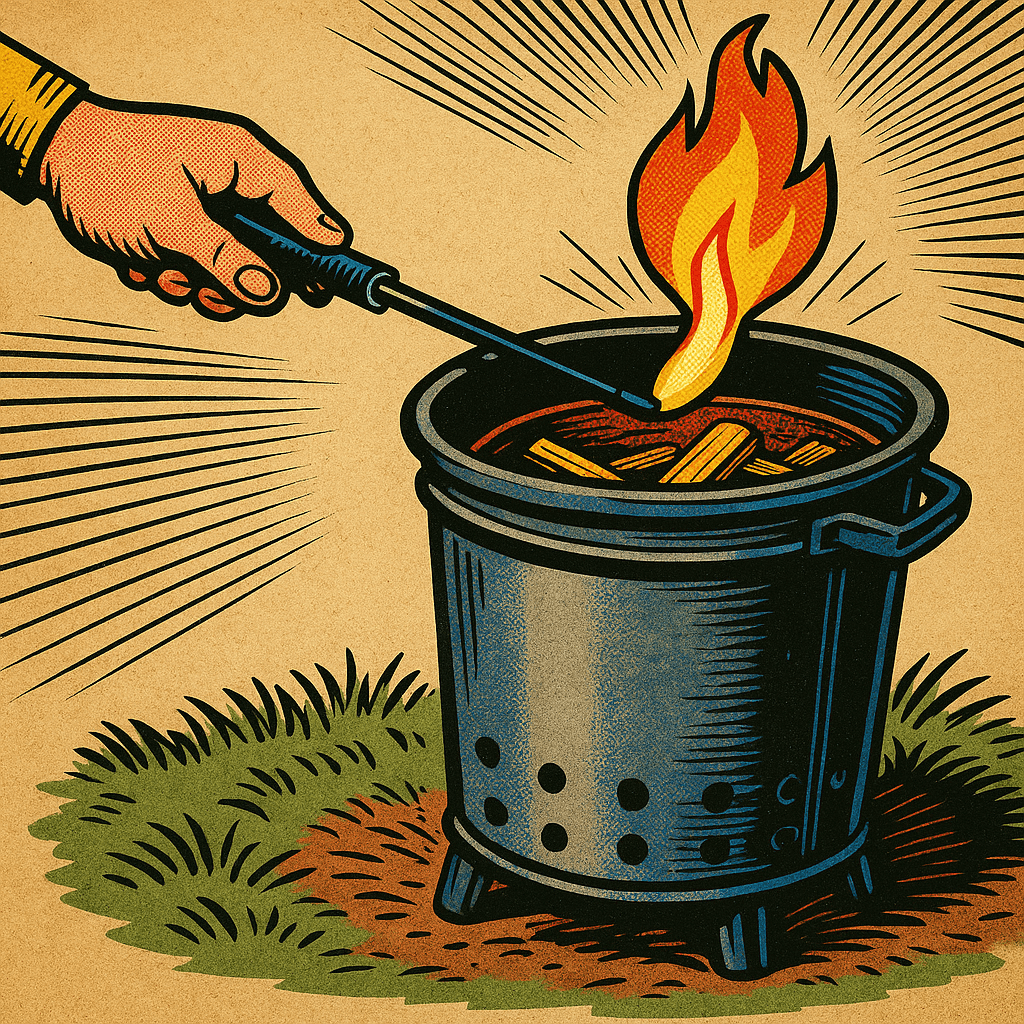
    • Ignition: Use long matches or a long-handled lighter to ignite the newspaper at the bottom of the incinerator. For better airflow and faster ignition, light the newspaper through the air holes at the base of the incinerator​.
    • Fire Development: As the newspaper ignites, it will draw in air through the base holes, feeding oxygen to the flames and helping the fire spread upward through the kindling and larger branches.
  5. Maintain the Fire:
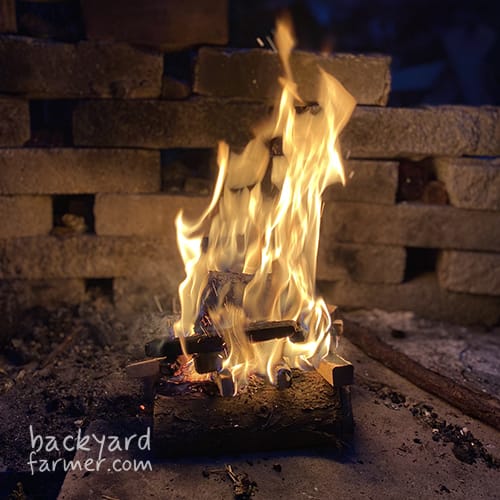
    • Adding Larger Wood: Once the fire is well-established, you can begin to add larger pieces of wood. Introduce them gradually to avoid smothering the fire. Starting with a strong, hot fire is key before adding any wet or green materials.
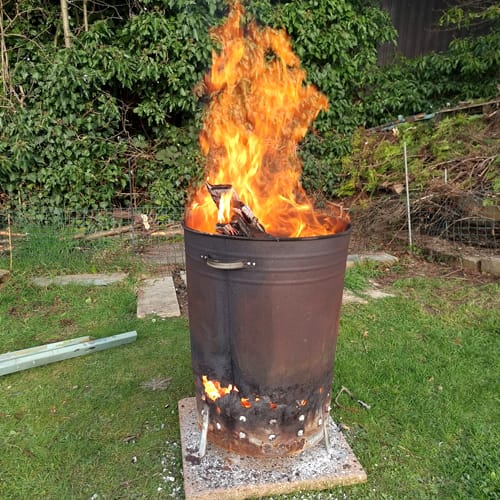
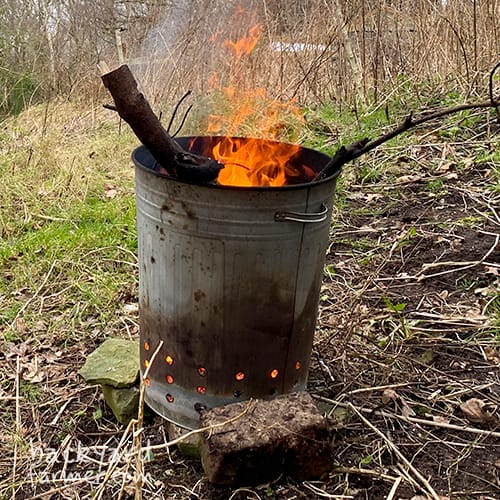
    • Using the Lid: After the fire is burning steadily, place the lid on the incinerator. This will help maintain a high internal temperature, leading to a more efficient burn while reducing the risk of stray sparks or embers​.

Tips for Success

  • Pre-Dry Materials: Ensure that the garden waste you plan to burn is thoroughly dried out for a week or two before burning. Dry materials burn faster and produce less smoke, making the process more efficient and neighbor-friendly​.
  • Maximize Airflow: When layering kindling and larger branches, make sure to leave gaps between them to allow for good air circulation. Propping the incinerator on bricks can further enhance ventilation.
  • Fire Safety: Always keep a water source, such as a full watering can or garden hose, nearby to quickly extinguish any accidental fires. Never leave the incinerator unattended, and always wear protective gear, including gloves and boots, to protect against burns.

Fire Starting Checklist

StepActionDetails/Notes
Base PreparationUse Twisted NewspaperProvides an easily ignitable base.
Kindling LayerAdd Dry Grass or FirelightersUse a teepee structure for optimal airflow and quick ignition.
Larger BranchesStack Dry Twigs and BranchesKeep below the rim for optimal airflow and safety.
IgnitionLight with Long Matches or LighterLight through multiple air holes for even ignition.
Fire MaintenanceGradually Add Larger Wood and Wet WasteMaintain fire temperature and avoid smothering.
Lid UsageKeep Lid On During BurningHelps maintain heat and prevents stray embers.

By following these refined steps and best practices, you can ensure that your garden incinerator fire starts easily, burns efficiently, and produces minimal smoke. This methodical approach not only enhances the effectiveness of your incineration process but also keeps safety and environmental considerations at the forefront.

Maintaining the Fire in Your Garden Incinerator

Once your fire is established in the garden incinerator, the next critical step is to maintain it at a high temperature for efficient burning. Proper fire maintenance ensures that your garden waste is thoroughly incinerated, reducing smoke production and minimizing the risk of the fire going out prematurely. Here’s a comprehensive guide on how to maintain a consistent, hot fire in your incinerator.

Step-by-Step Guide to Maintaining the Fire

  1. Feed the Fire Gradually with Dry Wood:
    • Maintain High Temperature: Continuously feeding your fire with small amounts of dry wood is key to keeping the temperature high. Dry wood burns more efficiently, generating the heat necessary to sustain the fire. Add the wood in small batches rather than all at once to avoid smothering the flames.
    • Avoid Overloading: Overloading the incinerator can block airflow, leading to incomplete combustion and a drop in temperature. Always ensure that there’s enough space for air to circulate freely around the burning materials.
  2. Introduce Wet Garden Waste Cautiously:
    • Reduce Smoke Production: While the incinerator is designed to handle wet garden waste, it’s important to add it gradually. Wet or green waste produces a lot of smoke, which can reduce visibility and potentially annoy neighbors. Start by adding small amounts to the existing fire to allow the heat to evaporate the moisture before the waste fully ignites​.
    • Maintain Fire Strength: If too much wet waste is added at once, it can lower the fire’s temperature, causing it to smolder instead of burn. This not only increases smoke but also risks extinguishing the fire altogether. The key is balance—add wet waste slowly and mix it with dry materials to maintain a steady burn.
  3. Monitor and Adjust as Needed:
    • Stir the Contents: Occasionally stirring the contents with a long-handled tool, such as a poker, helps to mix the burning and unburned materials, promoting more even burning. This also helps to clear any ash that might be blocking air vents at the bottom of the incinerator.
    • Use the Lid to Control Burn Rate: Keeping the lid on during burning helps to retain heat and control the burn rate. However, if you notice that the fire is struggling, you might briefly remove the lid to allow more oxygen to feed the flames. Once the fire picks up again, replace the lid to maintain the temperature and reduce smoke​.
  4. Be Mindful of Safety:
    • Avoid Leaving the Fire Unattended: Even if the fire appears to be burning well, it’s crucial to monitor it continuously. A sudden gust of wind or an unexpected drop in temperature could cause the fire to spread or go out. Keep a water source nearby at all times in case you need to quickly extinguish the fire​.

Fire Maintenance Checklist

StepActionDetails/Notes
Feed with Dry WoodAdd Small Batches GraduallyEnsures high temperature and efficient burning.
Introduce Wet Waste CautiouslyAdd Slowly, Mix with Dry MaterialsPrevents smothering the fire and reduces excessive smoke.
Stir the ContentsUse a Long-Handled ToolPromotes even burning and clears ash from air vents.
Use the LidKeep On for Controlled BurningMaintains temperature, but briefly remove if the fire needs more oxygen.
Safety MonitoringNever Leave UnattendedAlways have a water source ready to manage the fire safely.

By following these steps and regularly checking on your fire, you’ll ensure that your garden incinerator burns efficiently, reducing the amount of smoke produced and making the process safer and more effective. Consistent fire maintenance not only improves the incineration of garden waste but also extends the life of your incinerator by preventing issues like blockages and overheating.

Cooling and Emptying the Incinerator

After successfully burning your garden waste, the next crucial step is to safely cool and empty your garden incinerator. This process must be handled with care to avoid accidents and to ensure that the incinerator is ready for future use. Here’s a step-by-step guide to cooling and emptying your incinerator effectively.

Step-by-Step Guide to Cooling and Emptying the Incinerator

  1. Let It Sit:
    • Cooling Time: Allow the incinerator to cool for at least 48 hours after the fire has burned out. This gives the embers and ash ample time to cool down naturally, reducing the risk of burns or accidental fires. Avoid the temptation to douse the incinerator with water as the rapid temperature change can warp or crack the metal, shortening the life of your incinerator.
    • Check for Residual Heat: After 48 hours, carefully check the exterior and interior of the incinerator for any remaining warmth. If the incinerator is still warm, wait an additional 24 hours before proceeding to ensure that all embers are completely extinguished​.
  2. Empty the Ashes Safely:
    • Prepare the Ground: Before emptying the incinerator, soak the ground near your compost heap or another designated area with water. This prevents any remaining embers from igniting dry materials in the vicinity​.
    • Transfer the Ashes: Wearing thick gloves and using a metal shovel, carefully pour the cooled ash onto the soaked ground. Spread the ash out in a thin layer to further cool it and to ensure that any hidden embers are exposed.
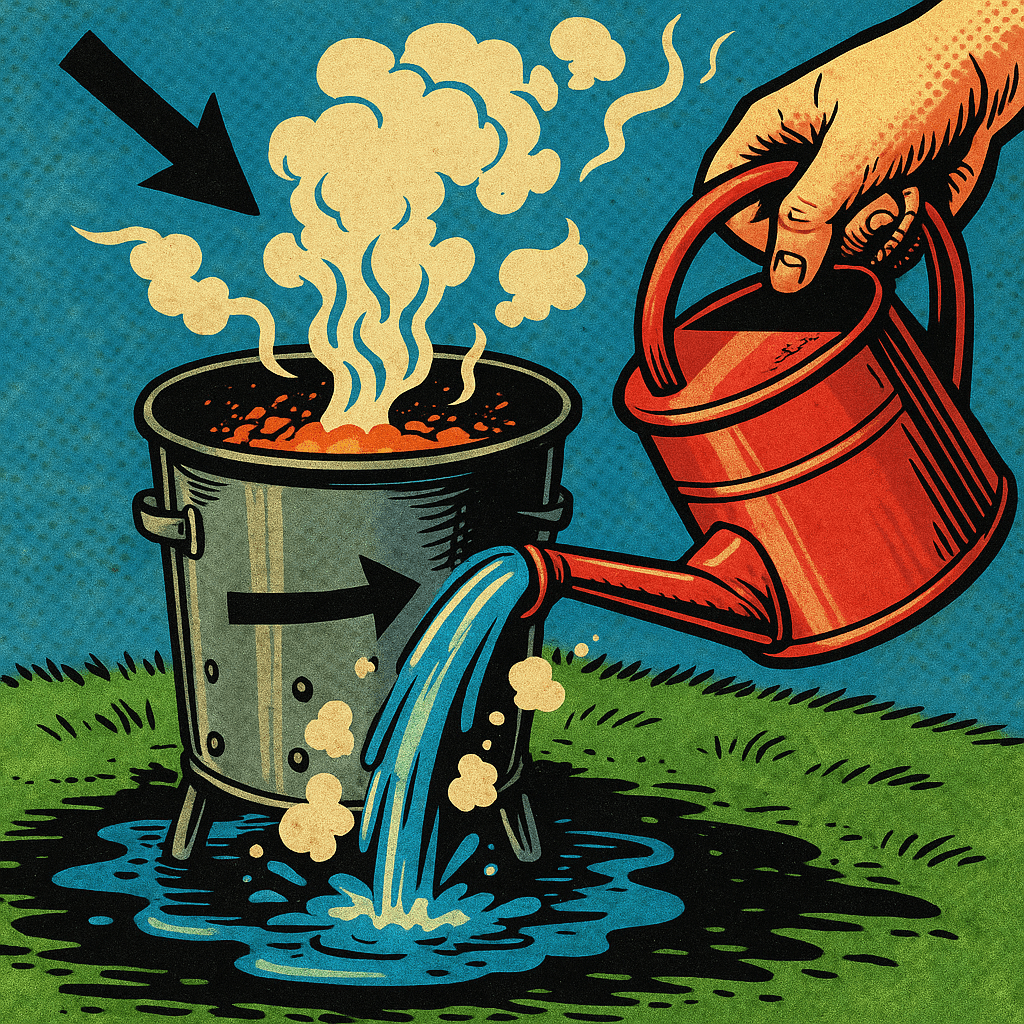
    • Soak the Ashes: Once the ash is on the ground, soak it thoroughly with water to extinguish any possible remaining embers. Mixing the ash with water also helps to create a paste-like consistency, which is easier to handle and less likely to produce airborne particles that can be inhaled.
  3. Dispose of or Reuse the Ash:
    • Composting: If the ash is free from contaminants like plastic or treated wood, it can be added to your compost heap. Wood ash is rich in potassium and can help neutralize acidic soil, making it a valuable addition to your compost.
    • Alternative Uses: Ash can also be used directly in the garden as a soil amendment, particularly for plants that prefer slightly alkaline conditions, such as tomatoes or roses. It can also serve as a natural slug deterrent when sprinkled around the base of plants.

Cooling and Emptying Checklist

StepActionDetails/Notes
Initial CoolingLet Sit for 48 HoursAllow the incinerator to cool naturally to prevent damage.
Check for HeatAssess After 48 HoursIf warm, wait an additional 24 hours before handling.
Ground PreparationSoak Ground Near CompostPrepares the area to safely receive the ashes.
Empty AshesTransfer Ashes CarefullyWear gloves and use a metal shovel to handle cooled ash.
Soak AshesThoroughly Wet the AshesEnsures all embers are extinguished and makes handling safer.
Dispose or Reuse AshCompost or Use as Soil AmendmentAdds nutrients to compost or soil, or deters pests like slugs.

By following these steps, you can safely cool and empty your garden incinerator, ensuring it’s ready for its next use while also taking advantage of the beneficial properties of the ash. This methodical approach minimizes risks and maximizes the utility of your garden waste, turning it into a resource for your garden.

What Can You Burn in a Garden Incinerator?

Garden incinerators are versatile tools, primarily designed for burning organic garden waste. However, it’s crucial to know exactly what materials are safe to burn to avoid health hazards, pollution, and legal issues. Here’s a comprehensive guide on what you can and cannot burn in a garden incinerator.

Safe Materials to Burn

  1. Garden Waste:
    • Leaves: Dry leaves are excellent for incineration as they ignite quickly and produce minimal smoke. Ensure that the leaves are completely dry for the best results.
    • Branches and Twigs: Small branches and twigs are ideal for burning in a garden incinerator. These materials burn hot and help maintain a steady fire. Larger branches should be cut down to size to fit within the incinerator.
    • Grass Cuttings: While dry grass cuttings can be burned, they tend to produce more smoke, especially if they are not fully dried. It’s often more environmentally friendly to compost grass cuttings unless they are diseased​.
  2. Paper Documents:
    • Uncoated Paper: Burning paper documents is another common use for garden incinerators. Ensure that only uncoated, untreated paper is used—avoid glossy or colored paper, as these can release harmful chemicals when burned.
    • Personal Documents: Incinerators are effective for securely disposing of personal documents such as bank statements or old bills. However, remove any plastic components like windows in envelopes before burning.

Materials to Avoid

  1. Household Waste:
    • Plastic and Treated Wood: It is illegal and unsafe to burn plastics, treated wood, or any household waste that emits toxic fumes when burned. These materials release harmful chemicals that can cause air pollution and pose health risks​.
    • Painted or Varnished Wood: Like treated wood, painted or varnished wood should never be burned in a garden incinerator. The paint or varnish can release toxic fumes when ignited.
  2. Wet or Green Materials:
    • Wet Garden Waste: While you can burn wet garden waste, it is not recommended because it produces excessive smoke and smolders rather than burns efficiently. It’s better to allow green waste to dry out before incineration.
    • Compostable Materials: Consider composting instead of burning materials that are suitable for your compost pile, like certain types of leaves, grass, and small plant clippings. This not only benefits your garden but also reduces smoke and air pollution.

What Can You Burn in a Garden Incinerator?

Garden incinerators are versatile tools, primarily designed for burning organic garden waste. However, it’s crucial to know exactly what materials are safe to burn to avoid health hazards, pollution, and legal issues. Here’s a comprehensive guide on what you can and cannot burn in a garden incinerator.

Safe Materials to Burn

  1. Garden Waste:
    • Leaves: Dry leaves are excellent for incineration as they ignite quickly and produce minimal smoke. Ensure that the leaves are completely dry for the best results.
    • Branches and Twigs: Small branches and twigs are ideal for burning in a garden incinerator. These materials burn hot and help maintain a steady fire. Larger branches should be cut down to size to fit within the incinerator.
    • Grass Cuttings: While dry grass cuttings can be burned, they tend to produce more smoke, especially if they are not fully dried. It’s often more environmentally friendly to compost grass cuttings unless they are diseased​(The Huts Eastbourne,Allotment Book).
  2. Paper Documents:
    • Uncoated Paper: Burning paper documents is another common use for garden incinerators. Ensure that only uncoated, untreated paper is used—avoid glossy or colored paper, as these can release harmful chemicals when burned.
    • Personal Documents: Incinerators are effective for securely disposing of personal documents such as bank statements or old bills. However, remove any plastic components like windows in envelopes before burning​(GardenDad).

Materials to Avoid

  1. Household Waste:
    • Plastic and Treated Wood: It is illegal and unsafe to burn plastics, treated wood, or any household waste that emits toxic fumes when burned. These materials release harmful chemicals that can cause air pollution and pose health risks​(Homebase).
    • Painted or Varnished Wood: Like treated wood, painted or varnished wood should never be burned in a garden incinerator. The paint or varnish can release toxic fumes when ignited.
  2. Wet or Green Materials:
    • Wet Garden Waste: While you can burn wet garden waste, it is not recommended because it produces excessive smoke and smolders rather than burns efficiently. It’s better to allow green waste to dry out before incineration​(Allotment Book).
    • Compostable Materials: Consider composting instead of burning materials that are suitable for your compost pile, like certain types of leaves, grass, and small plant clippings. This not only benefits your garden but also reduces smoke and air pollution.

Legal Considerations

  • Local Regulations: Always check your local council’s guidelines or regulations regarding garden incineration. Many areas have specific rules about what can be burned, especially concerning the burning of household waste or materials that could cause significant pollution​(GardenDad).
  • Environmental Impact: It is generally illegal to burn materials that cause pollution or harm to health. This includes items that produce toxic fumes, such as plastics or chemically treated wood. Be mindful of what you burn to ensure compliance with local environmental laws​(Homebase).

Burning Guidelines Checklist

MaterialSafe to Burn?Details/Notes
Dry LeavesYesIdeal for burning; ensure they are completely dry.
Branches and TwigsYesBest when dry; cut down larger branches to fit.
Grass CuttingsYes (Dry)Burn when dry, but consider composting as an alternative.
Uncoated PaperYesGood for burning; remove any plastic components.
PlasticNoIllegal to burn; releases toxic fumes.
Treated/Painted WoodNoAvoid burning; emits harmful chemicals.
Wet Garden WasteNot RecommendedProduces excessive smoke; better to dry out first or compost.

By adhering to these guidelines, you can safely use your garden incinerator to dispose of organic waste and paper materials without causing harm to the environment or violating local regulations. Always prioritize safety and legality when choosing what to burn.

Creative Uses for Incinerator Ash

After safely burning organic materials in your garden incinerator, you’re left with ash that can be surprisingly versatile. Rather than discarding this byproduct, you can repurpose it in various ways to benefit your garden and household. Here’s how you can make the most of your incinerator ash.

Practical Applications for Incinerator Ash

  1. Grit for Icy Surfaces:
    • Use as an Alternative to Salt: During the winter months, incinerator ash can be used as a gentle and environmentally friendly alternative to salt for de-icing paths, driveways, and walkways. The fine texture of the ash provides traction on icy surfaces without the corrosive effects of salt, which can damage concrete, metal, and surrounding vegetation.
    • Application: Simply sprinkle the ash over the icy area to help prevent slips and falls. It’s particularly useful on uneven surfaces where traditional salt might accumulate and cause damage.
  2. Soil Enrichment:
    • Neutralize Acidic Soil: Wood ash is alkaline and can be used to raise the pH of acidic soils. This makes it an excellent amendment for gardens with plants that prefer less acidic conditions, such as vegetables, fruit trees, and certain flowering plants​.
    • Potassium Source: Ash is also a good source of potassium, a vital nutrient for plant growth. Potassium helps plants build strong roots, resist diseases, and produce flowers and fruit. To use ash as a soil amendment, sprinkle it lightly over your garden beds and work it into the soil during the winter or early spring.
    • Application: Be cautious not to overapply ash, as too much can make the soil too alkaline, which can hinder plant growth. It’s best to test your soil’s pH before application to determine how much ash is needed.
  3. Pest Deterrent:
    • Repel Slugs and Snails: Ash can be an effective, natural deterrent against slugs and snails, which can be harmful to your garden plants. The fine, abrasive texture of the ash irritates these pests, deterring them from crossing it​.
    • Application: To protect your plants, sprinkle a thin line of ash around the base of the plants you want to protect. Reapply after rain, as water will wash the ash away, reducing its effectiveness.
  4. Composting Accelerator:
    • Balance Compost pH: Adding small amounts of ash to your compost pile can help balance the pH, particularly if your compost includes a lot of acidic materials like fruit scraps. This can speed up the decomposition process, resulting in richer compost for your garden​.
    • Application: Add ash sparingly to your compost, mixing it well to ensure it doesn’t form clumps. Too much ash can make the compost too alkaline, so moderation is key.
  5. Cleaning Agent:
    • Metal Polish: The mildly abrasive nature of ash makes it an effective cleaner for tarnished metal items. You can create a paste by mixing ash with a little water and using it to scrub items like silverware, grills, or even glass.
    • Application: Apply the paste with a soft cloth, gently scrubbing the surface, then rinse with water. Be sure to test on a small area first to ensure it doesn’t scratch delicate surfaces.

Ash Usage Guidelines

UseBenefitsApplication Tips
Grit for Icy SurfacesProvides traction without damaging surfacesSprinkle ash on walkways and driveways during icy conditions.
Soil EnrichmentRaises pH and adds potassium to soilLightly apply to garden beds; test soil pH before use.
Pest DeterrentRepels slugs and snails naturallySprinkle a barrier around plants; reapply after rain.
Composting AcceleratorBalances pH in compost, speeds decompositionAdd sparingly to compost; mix well to avoid clumping.
Cleaning AgentCleans and polishes tarnished metal surfacesMake a paste with water and gently scrub metal items.

By incorporating these creative uses for incinerator ash, you can extend the benefits of your garden incineration process far beyond waste disposal. These practices not only contribute to a healthier garden but also provide practical solutions for common household needs.

Choosing the Right Garden Incinerator

Selecting the ideal garden incinerator is essential for effectively managing your garden waste. The right choice will depend on several factors, including the size of your garden, the types of materials you plan to burn, and your specific needs for efficiency, portability, and durability. Here’s a detailed guide to help you choose the best garden incinerator for your needs.

For an in-depth review of top garden incinerators to suit every need, check out our guide to The Best Garden Incinerator, which provides detailed insights into the best models available for 2024.

Factors to Consider When Choosing a Garden Incinerator

  1. Size of the Incinerator:
    • Small Gardens: If you have a small garden or generate minimal waste, a compact incinerator might be sufficient. Mini incinerators, typically ranging from 15 to 20 liters, are easy to store and handle but may require more frequent emptying if you have a lot of waste​.
    • Medium to Large Gardens: For larger gardens, consider a medium-sized incinerator with a capacity of 60 to 90 liters. These are ideal for handling a larger volume of waste, including branches, leaves, and grass clippings, without needing constant refills​.
    • High-Volume Needs: If you frequently prune large trees or have substantial garden waste, a large incinerator with a capacity of over 90 liters may be the best option. These incinerators can handle bigger branches and more significant amounts of waste at once, making them more efficient for bigger jobs.
  2. Material and Build Quality:
    • Galvanized Steel: Most garden incinerators are made from galvanized steel, which offers good resistance to rust and heat. This material is durable and well-suited for regular use. However, over time, the galvanization can wear off, especially if the incinerator is exposed to the elements.
    • Stainless Steel: For those looking for even greater durability, stainless steel incinerators are a premium option. These models resist rust and wear better than galvanized steel, making them a longer-lasting investment. They are particularly recommended for frequent users or those in wet climates where rust is a concern.
    • Portability Features: Some incinerators come with handles or wheels, making them easier to move around the garden. If you need to relocate your incinerator frequently or store it between uses, look for models with these portability features​.
  3. Design Features:
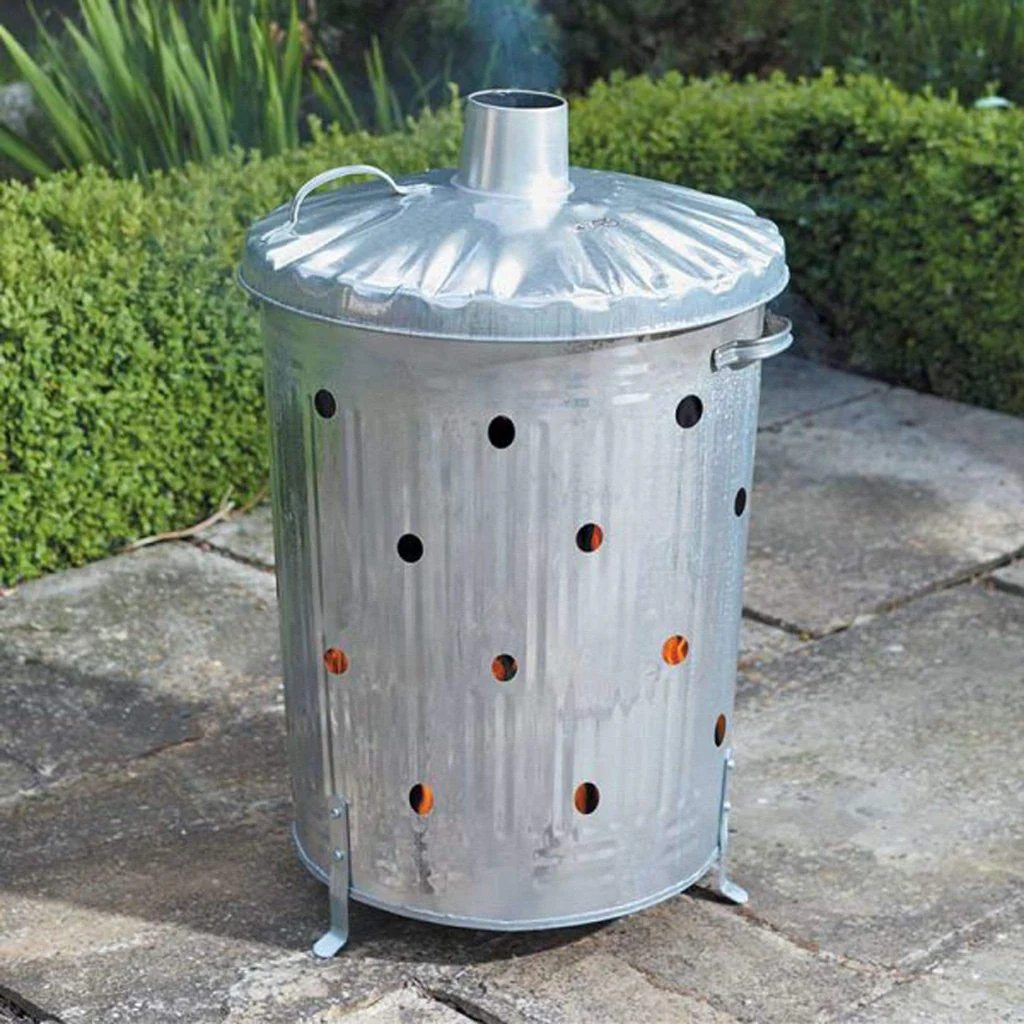
    • Lids and Chimneys: A well-designed lid with a chimney helps to maintain high internal temperatures while allowing smoke to escape efficiently. This feature reduces the risk of sparks escaping and helps control the burn rate. Some incinerators also come with adjustable air vents to fine-tune the airflow, which is crucial for efficient burning.
    • Legs or Stands: Incinerators with legs or stands are elevated off the ground, which improves airflow and helps protect your lawn or patio from heat damage. Ensure the legs are sturdy and provide good stability to prevent the incinerator from tipping over during use​.
  4. Environmental Considerations:
    • Smoke Reduction: Some modern incinerators are designed to minimize smoke output, making them more environmentally friendly and neighbor-friendly. Look for models that emphasize efficient burning and come with features like smoke-reducing chimneys or internal flues.
    • Compliance with Local Regulations: Depending on where you live, there may be specific regulations regarding the use of garden incinerators. It’s important to choose a model that complies with these regulations, particularly if you live in an area with strict air quality controls.
  5. Ease of Assembly and Use:
    • Simple Assembly: Choose an incinerator that is easy to assemble, especially if you plan to use it frequently. Some models come with clear instructions and require only basic tools for assembly, while others might be more complex​.
    • Ease of Use: Look for features like easy-to-open lids, ergonomic handles, and accessible air vents, which make the incinerator more user-friendly. These features can enhance your experience by making the incineration process smoother and more efficient​.

Recommended Incinerators by Garden Size

Garden SizeRecommended CapacityIdeal Features
Small Gardens15-20 litersCompact design, easy storage, lightweight.
Medium to Large Gardens60-90 litersDurable build, larger capacity, includes lid and chimney for smoke control.
High-Volume NeedsOver 90 litersHeavy-duty construction, large capacity, sturdy legs for stability.

Material and Design Features

FeatureBenefitIdeal For
Galvanized SteelRust-resistant, durableRegular use in moderate climates.
Stainless SteelSuperior durability, rust-proofFrequent use, wet climates, long-term investment.
Lids with ChimneysBetter temperature controlReducing smoke, efficient burning.
Legs or StandsImproved airflow, stabilityProtecting surfaces, better airflow for consistent burning.

By considering these factors and choosing an incinerator that matches your specific needs, you’ll be better equipped to manage your garden waste effectively. Whether you need a compact model for occasional use or a large, durable incinerator for frequent burning, selecting the right one will enhance your garden maintenance and make the incineration process smoother and safer.

Conclusion

Choosing the right garden incinerator and using it effectively can make a significant difference in how you manage garden waste. From starting and maintaining a fire to utilizing the resulting ash, a well-chosen incinerator simplifies your garden maintenance while offering multiple benefits, such as soil enrichment and natural pest control.

If you’re ready to find the perfect incinerator for your needs, don’t miss our detailed guide on The Best Garden Incinerator. This comprehensive review covers top models and helps you make an informed decision, ensuring you choose an incinerator that will serve you well for years to come.

Share this post

Related Articles

Scroll to Top