

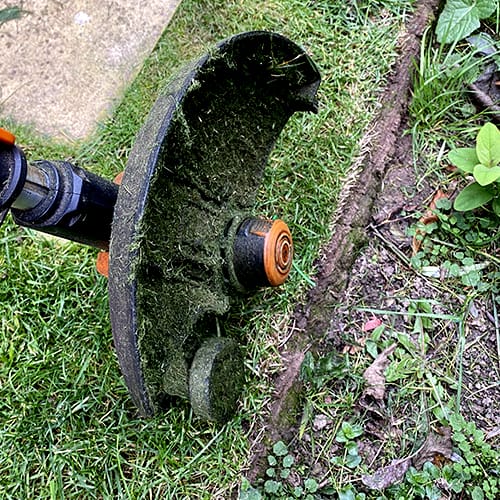
The Worx WG163E switches between grass trimming and wheeled edging, but the head and shaft adjustment can feel awkward the first few times you use it. I own and use the WG163E regularly, and once you know where the locking points are, changing modes is straightforward.
Below I’ll show you how to switch between edging and trimming modes step by step, then cover the most common problems if the head feels stuck or will not lock into position.
How to Switch the Worx WG163E Between Trimming and Edging
The WG163E switches between trimming and edging by adjusting the shaft and cutting-head position. It can feel a little stiff the first few times, but the mechanism is straightforward once you know how the locking points move.
Step 1 – Power Off and Remove the Battery
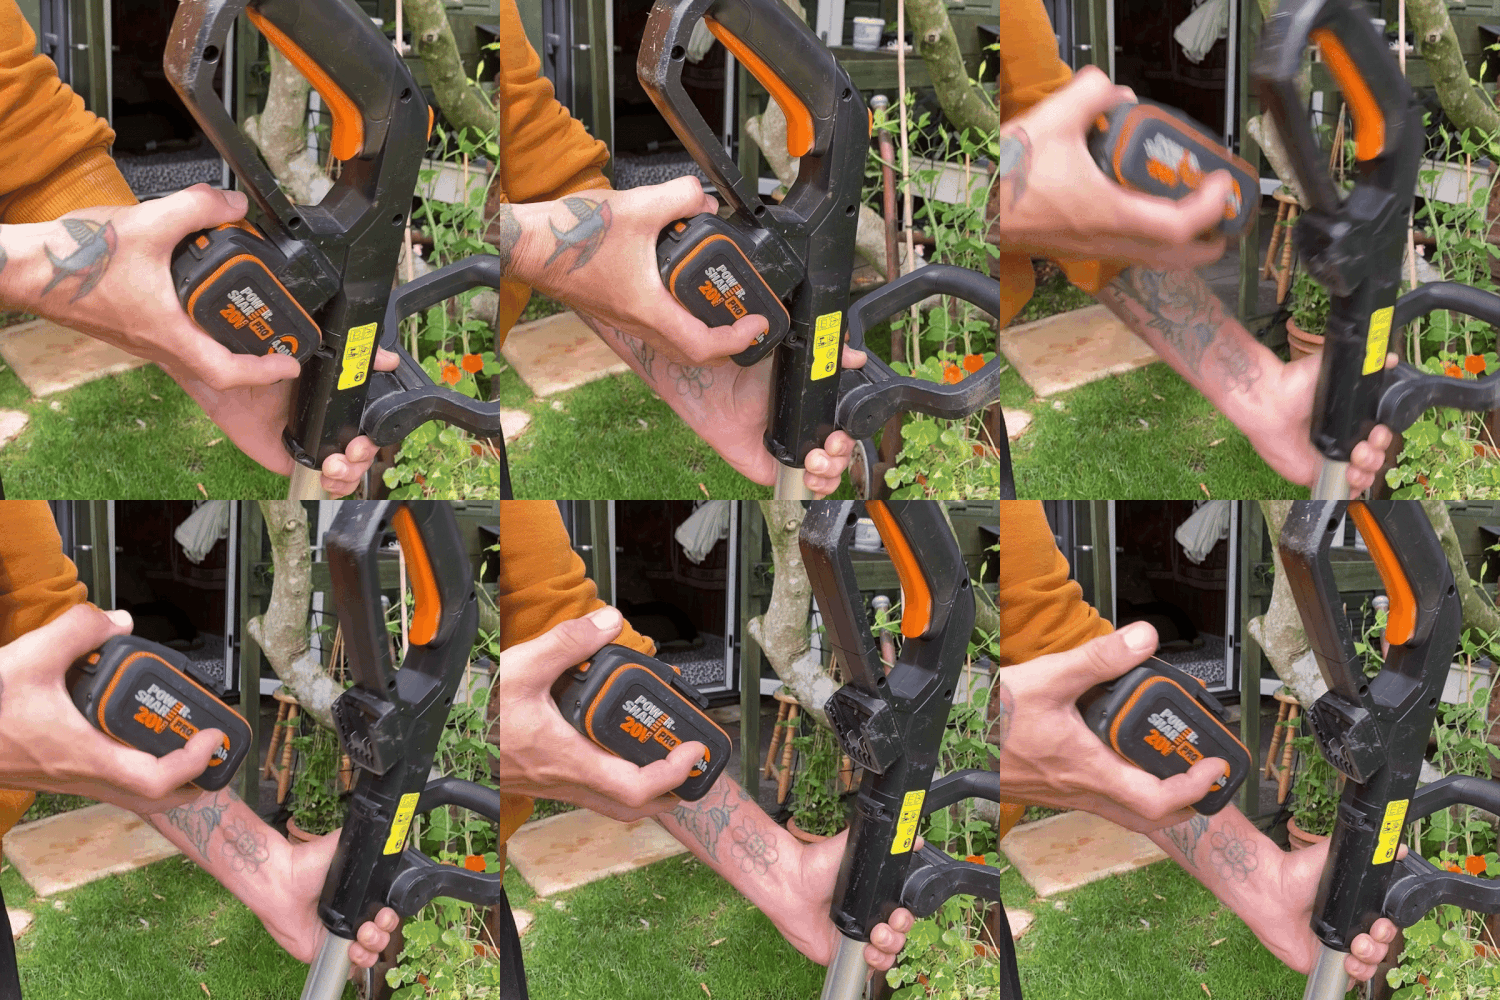
Switch the trimmer off, wait for the cutting head to stop completely, then remove the battery before making any mechanical adjustments.
This prevents accidental start-up while your hands are close to the shaft, guard and cutting head.
Step 2 – Adjust the Shaft

Open the orange shaft lock and set the trimmer to a comfortable working length. Once adjusted, close the shaft lock securely.
Step 3 – Rotate the Shaft 90°

To change the orientation of the cutting head, rotate the shaft through 90 degrees so the handles and cutting head line up for the mode you want.
Make sure the shaft clicks back into its locked position before continuing.
Step 4 – Tilt the Cutting Head

Place the trimmer head on the ground and use the plastic guard to steady it with your foot.
Hold the handle firmly and tilt the shaft until the head moves into the required position. You may hear a clicking or ratcheting sound as it moves — this is part of the locking mechanism and is normal.
Step 5 – Set the Tool for Trimming or Edging

For edging, position the cutting head vertically so the wheel can run along the lawn edge.
For trimming, return the head to a horizontal cutting position.
Once the head and shaft are fully locked, refit the battery and the WG163E is ready to use in the selected mode.
Don’t be alarmed by the clicking or ratcheting sound — it’s part of the design. The head locks into place at fixed angles during the tilt process.
WG163E Head Adjustment Troubleshooting
| Problem | Likely Cause | What to Try |
|---|---|---|
| Head will not rotate | Lock not fully released or awkward angle | Remove battery, stabilise the guard and apply steady pressure |
| Head clicks or ratchets | Normal locking mechanism | Continue moving it until it reaches the required position |
| Head moves while adjusting | Shaft/head not fully locked | Check the orange shaft lock and head position before use |
| Head feels stuck | Dirt or stiffness around pivot | Clean the joint and try gentle, even movement — do not force it |
Do not force the mechanism. If the head still will not move after cleaning and checking the locks, stop and consult the Worx manual or support.
Worx WG163E Manual
If you need the official setup, safety or maintenance instructions, you can download the WG163E manual from Worx UK.
Worx WG163E FAQs
Rotate the shaft and position the cutting head vertically so the edging wheel runs along the lawn edge. Always remove the battery before adjusting the tool.
The clicking or ratcheting sound is normal. The head locks into fixed positions as it moves.
Remove the battery, check that the shaft and head locks are released, clean any dirt from the pivot and apply steady pressure. Do not force the mechanism.
Yes. It is designed as a 2-in-1 grass trimmer and wheeled edger, allowing you to switch between routine trimming and lawn-edge work.
Final Tip
Switching the WG163E between trimming and edging can feel awkward at first, but once you understand the shaft rotation and ratcheting head mechanism, it becomes quick and repeatable.
The main thing to remember is to remove the battery before adjusting the tool and never force the head if it feels stuck.
Thinking of buying the WG163E? Read my full Worx WG163E cordless grass trimmer review for cutting performance, battery life, pros and cons.