Introduction
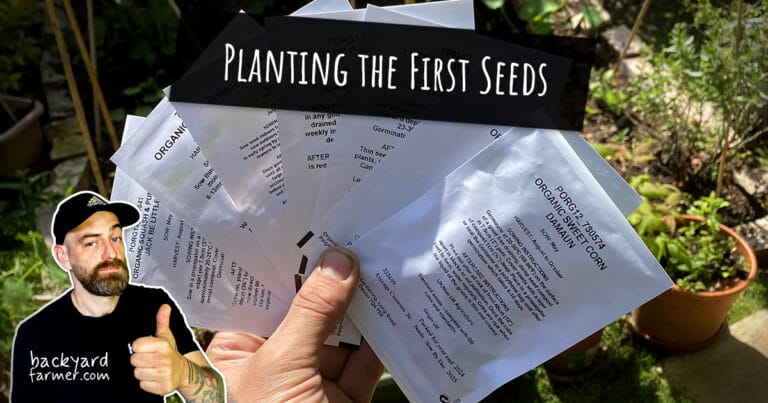
As March arrived in 2020, the first real signs of spring began to show in the North West of the UK. Temperatures were slowly rising, days were stretching out, and nature was starting to wake up. With that shift in the air, it felt like the right moment to begin planting the first seeds of the season, focusing on reliable early spring crops that grow well in the UK and help kick-start the growing year.
Continue your early season planting journey
If you’re planting your first seeds of the season and exploring herbs and DIY ideas, these guides will help you choose crops, plan your layout, and extend your gardening success beyond the first sowings.
- How to grow indoor salad greens and herbs – Practical guidance on bringing your seed-starting success indoors for herbs and leafy greens.
- What vegetables are good to grow – A foundational guide to popular and rewarding vegetables — great for planning what to sow after your first seeds.
- What to plant each month in the UK – A month-by-month planting calendar to help you time your sowing throughout the season.
Planting Radish Seeds (Early Spring Crop)
One of the very first crops to go in is radish. The seeds I’m using are French Radish, although they’re much the same as most standard garden radish varieties. Radishes can be sown from late February through to March and are one of the fastest early spring vegetables you can grow, taking as little as four weeks from seed to harvest.
Because they grow so quickly, it makes sense to sow them in stages. Staggering your sowings prevents you from ending up with a glut of radishes all at once. Instead, think about how many you’ll realistically eat in a month and plant just enough to match that.
I enjoy radishes throughout the summer, usually once or twice a week, so I planted 10 seeds for my first batch. This variety prefers to be planted at around ½ an inch deep. I filled my cardboard seedling trays with soil and sowed the seeds evenly.
Chitting Potato Seeds (Preparing Potatoes for Planting)
This year, I’ve chosen to grow King Edwards and Maris Peer potatoes. Each variety has its own strengths and suits different uses in the kitchen, which makes them a good fit for how we actually cook and eat.
Maris Peer – best for:
- Wedges
- Boiling
- Salads
King Edwards – best for:
- Baking
- Roasting
- Mashing
- Chips
When growing your own food, it’s important to choose crops that suit your needs. There’s little point growing something you won’t enjoy eating. Before planting potato seed, particularly for an early crop, it’s also worth taking the time to chit your potatoes.
What Is Meant by ‘Chitting Potatoes’?
Chitting is the simple process of encouraging seed potatoes to sprout before planting them out. Doing this helps the plant establish more quickly and develop into a stronger, healthier crop. It’s commonly used to give potatoes a head start early in the season, when soil temperatures are still low. By chitting them indoors, shoots can develop in warmer, brighter conditions.
How to Chit Your Potatoes
- Place the potatoes in an egg tray with the end that has the most eyes facing up
- For larger potatoes, support them in a tray with scrunched-up newspaper
- Choose a bright spot in the house with a temperature of around 8–10°C
- Leave them undisturbed to sprout
- Once they have 3–4 strong chits, they’re ready (usually after 3–5 weeks)
Once planted outdoors, the growing time will vary depending on the variety. For maincrop potatoes, you’ll know they’re ready when the foliage has completely died back above ground.
To check, dig up a test potato and rub the skin gently with your fingers. If the skin feels tough and doesn’t rub away easily, the crop is ready to harvest.
How to Harvest New Potatoes (First Earlies)
New potatoes can be harvested two to three weeks after the plants have flowered. At this stage, the skins are soft and the potatoes are especially tender. They’re best enjoyed simply, served with butter and a little mint sauce.
How to Start a Herb Garden (Indoors)
Although it’s still too early to plant most herbs outdoors, now is the perfect time to start herbs indoors for an early, healthy growing season. Getting them going early gives young plants a valuable head start before they’re moved outside later in the season.
The aim this year is to have both an indoor and outdoor herb garden, providing a steady supply of fresh herbs for cooking and everyday use around the house.
Herbs I’m Planting This Year
- Italian basil
- Thyme
- Chives
- Rosemary
- Parsley
- Lavender
These are the seeds I have to hand at the moment, although I’ll likely add more as the season progresses. For now, I’m planting one to three seeds of each herb. Over time, it becomes clear what gets used most often, and I can adjust what I grow to suit our habits.
Why Grow Lavender and Rosemary?
Lavender and rosemary earn their place in the garden by being useful in more than one way. Lavender, in particular, makes the house smell great, acts as a natural deterrent for fleas, flies, moths, and mosquitoes, and provides valuable nectar for pollinators.
Its natural repellent properties come from a non-toxic compound called linalool, which is commonly found in commercial pest control products. Growing lavender yourself means fewer sprays, more plants doing the work naturally, and reliable food for bees during the midsummer flowering gap.
Lavender smells good, helps deter pests, and supports pollinators at the same time — making it one of the most practical herbs you can grow. Look after it, and it will look after you.
Salad Garden (Growing Salad Leaves Indoors)
As the Backyard Farm develops, I’m always looking for practical and efficient ways to grow food. Salad leaves are particularly well suited to indoor growing and can be raised successfully in something as simple as a windowsill box.
They require very little soil depth, grow quickly, and don’t need much space. This makes them ideal for shallow containers placed on a windowsill, in a porch, or in a conservatory. With several packs of salad seeds ready to go, I’ll be experimenting over the coming weeks to find the most reliable ways to grow fresh salad leaves indoors early in the season.
What Can I Use Eggshells For in the Garden?
As the chickens settle in, egg quality and consistency improve — which naturally raises the question of what to do with all the eggshells. There are plenty of uses, but two stand out as especially useful around the Backyard Farm.
Crushed Eggshells to Deter Slugs and Snails
Eggshells can help defend plants against pests such as slugs and snails. When crushed and spread generously around the base of plants, the sharp fragments create rough, uncomfortable ground for soft-bodied pests to cross.
That said, slugs and snails can be surprisingly determined. Make sure no leaves are touching the ground, as these can act as bridges over your defences. Keep an eye out for drooping foliage or other easy access points.
Crushed Eggshells for Chicken Feed
Feeding crushed eggshells back to chickens can help support strong eggshell formation. Chickens need calcium to produce eggs, which they would normally obtain from grit and minerals in the wild. In captivity, this is usually supplemented with products such as oyster shell.
Crushed eggshells are a simple, free alternative. As a precaution, always wash the shells in hot water before feeding them back to your flock to reduce the risk of bacteria.


